Termite Tubes: What They Look Like, Where You Can Find Them

AdobeStock 142799433 768x512 1

Do you suspect that you have a termite infestation in your house? The best way to be sure is to look for termite tubes around your property. They’re structures that termites build to facilitate transportation above ground.

But what exactly are you looking for? And where can you find these tubes? That’s what we’ll tell you in this article, along with tips and tricks to prevent a termite infestation.

If you suspect another type of infestation, like bed bugs or carpenter ants, contact us today for a thorough professional inspection!

What Are Termite Tubes?

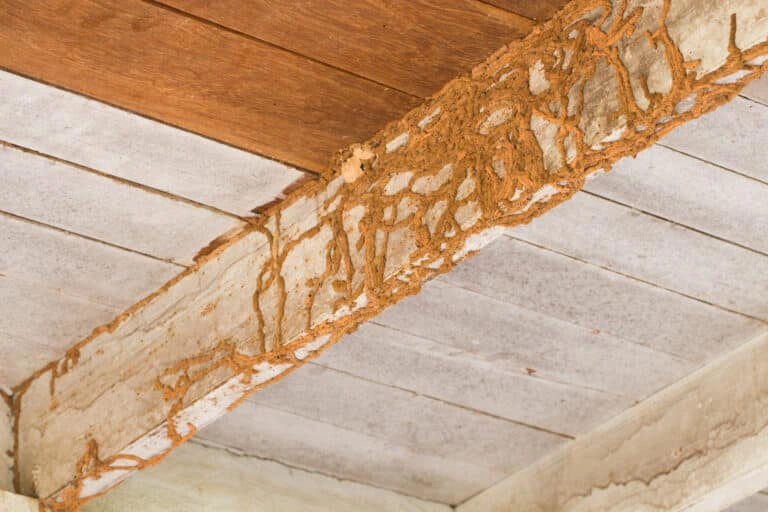
Termite tubes, also called termite mud tunnels, are tiny hollow structures made from wood shavings, pest droppings, soil particles, and termite saliva. Their main purpose is to provide a safe passage between termite colonies and their food source, thus your house.

Termite mud tubes are most commonly associated with subterranean termites, a type of pests that live in underground caste colonies and feed heavily on wood structures. The unique composition of these tubes renders them a safe haven, as they prevent the entry of dry air and preserve the moisture inside.

Where Can You Find Termite Tubes?

Termite mud tubes can be either visible or hidden. If you’re lucky, they’ll be visible along your house’s exterior walls or foundation, and you’ll find them easily.

If your luck is taking a day off, they’ll be hidden inside cracks in your walls, behind your baseboards, or inside your foundation. In this case, you’ll need a professional pest control inspection to find them before they inflict severe damage on your house.

Types of Termite Tubes
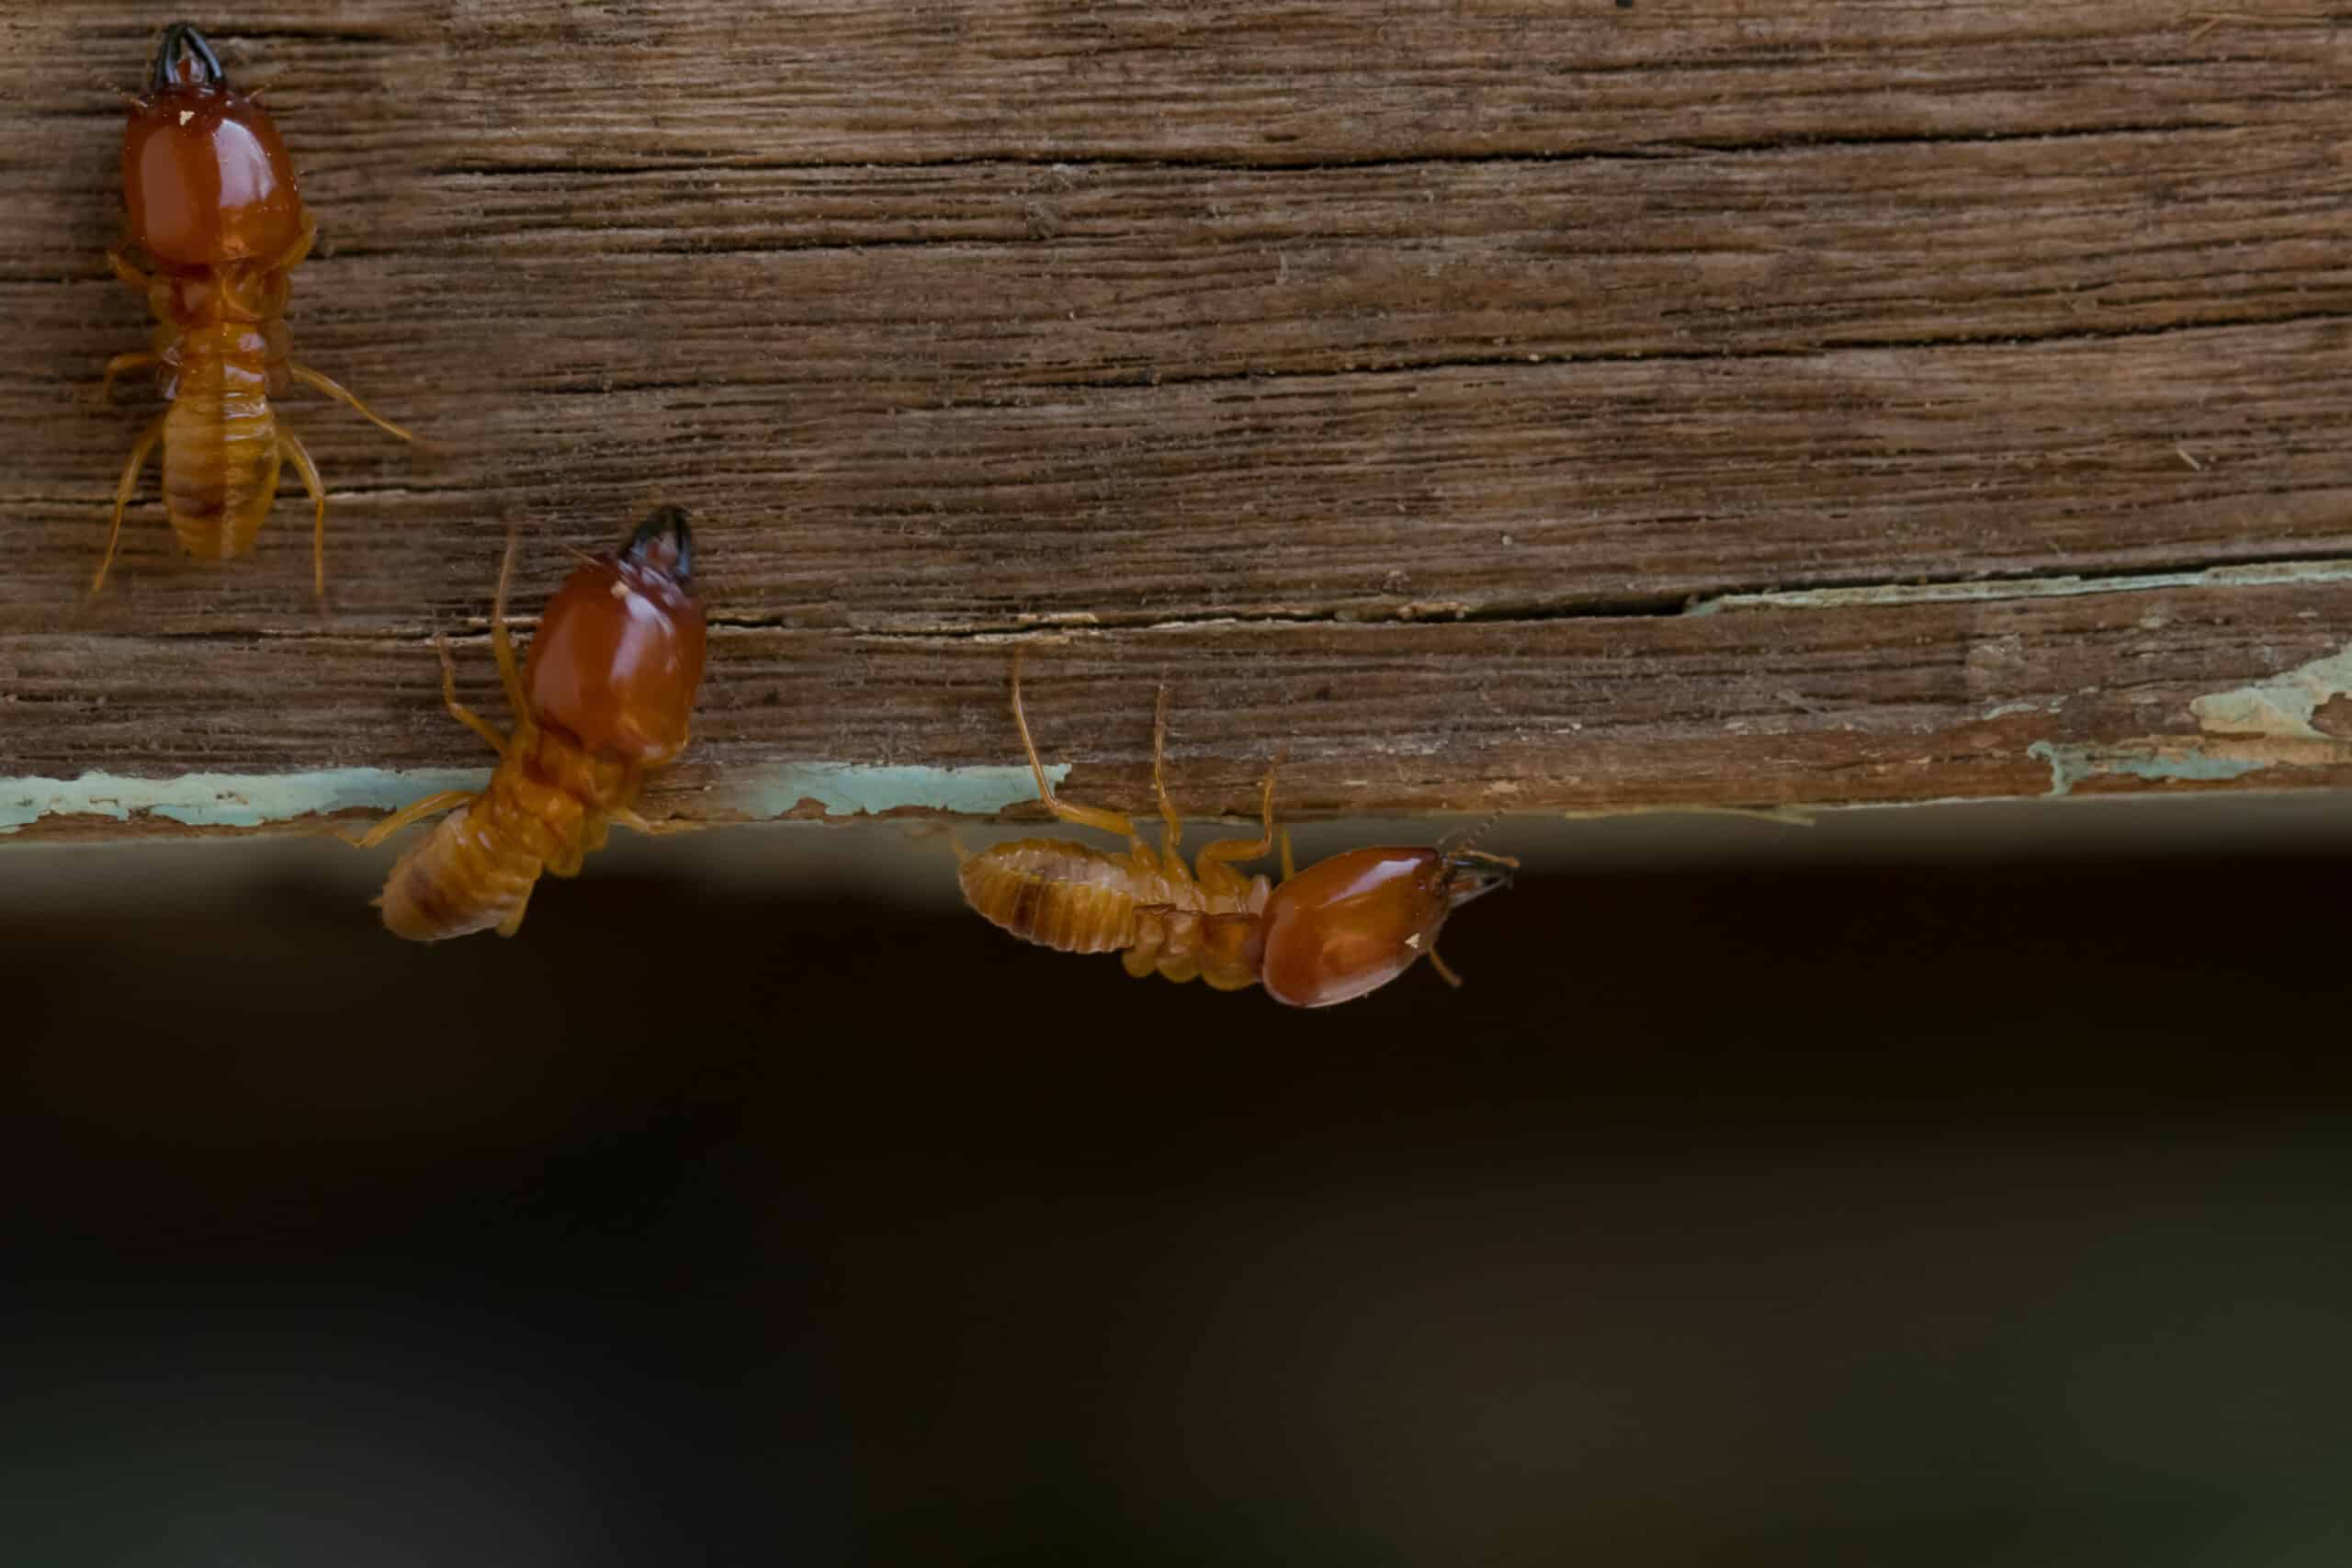
Termite Tubes - termites damage home, macro close up termites on wooden background

Subterranean termites build four types of tubes: swarm, working, drop, and exploratory tubes. Each one of them has a unique appearance and serves a specific purpose. Here’s a detailed rundown of them:

Swarm Tubes

Swarm tubes, also known as swarm castles, are large tunnels constructed by termite workers to accommodate swarmers that are leaving to start new colonies.

Swarmers move frantically, and when they all leave at once, they can cause chaos. To prevent this and keep the tiny creatures safe during their passage, workers build 4-foot-wide tubes and direct the swarmers into them.

These tubes are meant for a temporary purpose, so they aren’t exceedingly strong. Also, they’re less common in houses than the other types.

Working Tubes

Working tubes are the most important type termites use, as they’re the main path between the colony and the food source. They’re not as large as swarm tubes, often stopping at one inch in diameter, but they last a lot longer because of the purpose they serve.

These tubes, also known as utility tubes, are most commonly found inside wood structures, like window frames and wooden decks. They’re long enough to connect two far points, and thousands of termites travel inside them daily.

Working tubes are challenging to find because they’re often hidden, so your best chance to find them is to hire a professional pest control service.

Drop Tubes

Drop tubes have a unique appearance that you can identify immediately, as they look like stalagmites hanging down from a wood structure toward the ground.

Their main purpose is to connect the ground to other tube types, whether swarm, working, or exploratory. This way, termite workers have quick and easy access to the food source without traveling an entire working tube.

These tubes aren’t highly durable, and they’re lighter in color than the other tubes because their main building material is wood. They’re also more visible and easier to identify.

Exploratory Tubes

Unlike all the other types, exploratory tubes don’t connect a food source to a wooden structure. Instead, termites use them to explore new areas and look for reliable food sources, so they take place inside the soil and end abruptly.

However, the bad news is if you spot an exploratory termite mud tube, it’ll most probably be empty. Termites don’t use these tubes for long, and finding them empty means that the tiny pests found a food source inside your house and have already taken residence inside.

Exploratory mud tubes are often a few feet long, and they rise above the soil where you can easily spot them. In this case, you should immediately contact professional pest management services to remove the infestation before significant structural damage happens.

How to Prevent a Termite Infestation

According to the EPA, there are a few tips you can follow to lessen the chance of a termite infestation. Here’s a quick list of the most important ones:

Man's hand finger pointing to cracked corner wall in house. Building problems and solutions concept. Closeup.

  • Fill cracks and crevices in your foundation regularly because termites like to hide there
  • Fix any water leak you have right away because termites love moisture and thrive in wet environments
  • Inspect for termite tubes and colonies regularly to catch any infestation early
  • Avoid planting trees or shrubs right next to any wooden structure around your house
  • Avoid piling firewood or wood shavings around your property

Frequently Asked Questions

How Do I Know Whether the Termite Tube I Found Is Active?

Make a small crack in the tube using a sharp object, then wait for a few days and check it. If the crack is still there, the tube is inactive and empty, but if it’s resealed, there’s termite activity inside.

Should I Destroy a Termite Tube If I See It?

No, you shouldn’t. Destroying a termite mud tunnel will cause the termites inside to build another one in a more hidden place, making it challenging to find it. Also, professional pest services need to see these tubes to determine their types and whether they’re old or new. The best action to take once you see one is to get expert help.

To Wrap Up

Termite tubes are hollow structures that termites build to transport from one place to another smoothly. They come in four types: swarm, working, drop, and exploratory, all of which you can identify if you look closely.

Normally, finding a termite tube around your house entails that there’s an active infestation nearby, in which case you’ll need a professional termite inspection to find it.

If you want to learn more information about pest control, check out our website!

How to Get Rid of Chiggers: A Detailed Guide

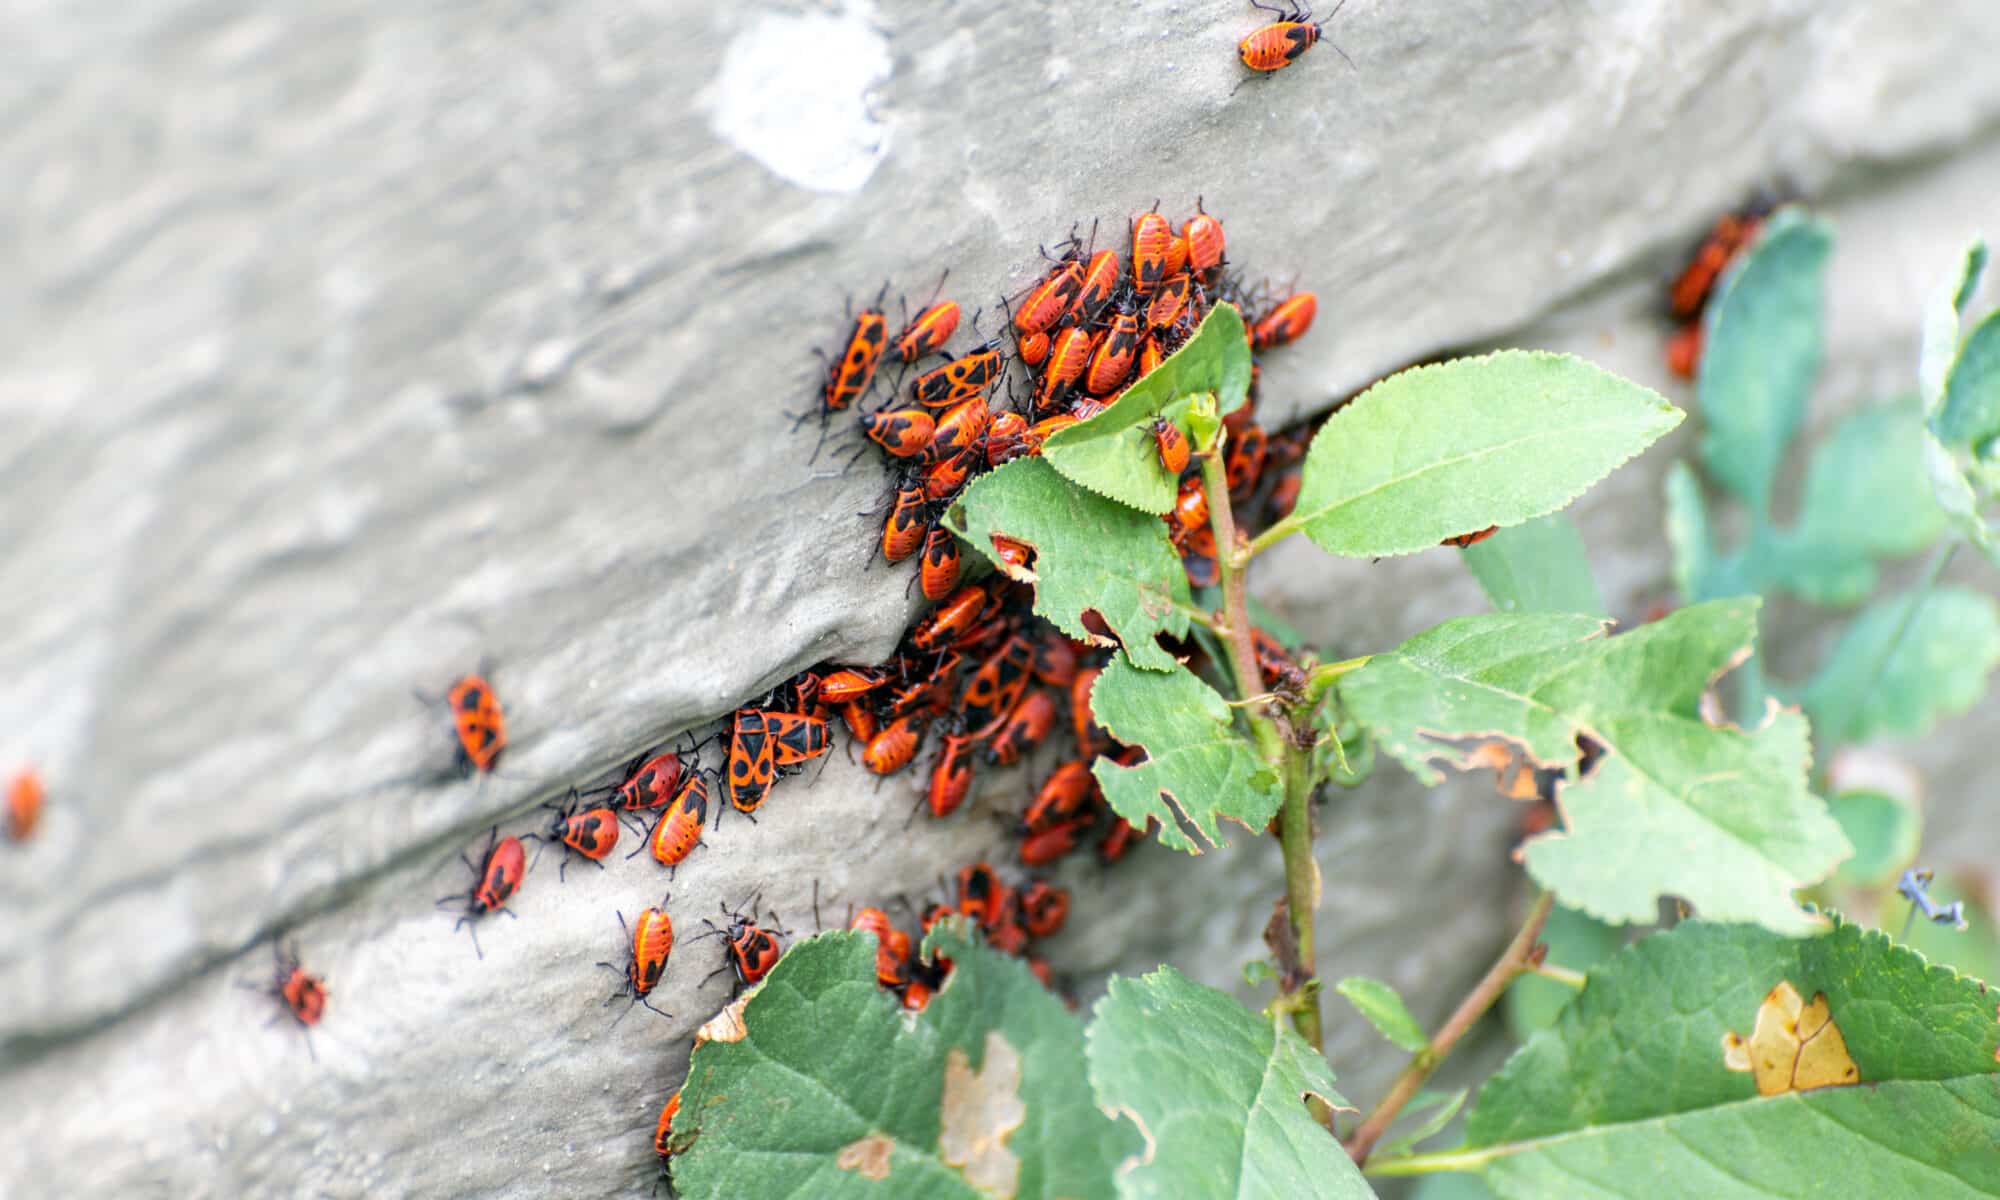
Many red bugs on the foundation of the house

Have you ever returned from a hike or a day in the woods with itchy red bumps? If so, you may have been bitten by chiggers.

The worst part about chigger bites is that they’re sometimes invisible. They don’t show up immediately, so you could be scratching for days before you even know what’s causing the itch. And if you ignore the bites, they’ll get infected.

What can you do if you’re dealing with these parasites? You can learn how to get rid of chiggers in bed, yard, and other places on your own. Or, you can contact a professional exterminator like Environmental Pest Management for severe outbreaks.

In this guide, you’ll learn how to get rid of chiggers, from prevention to treatment.

What Are Chiggers?

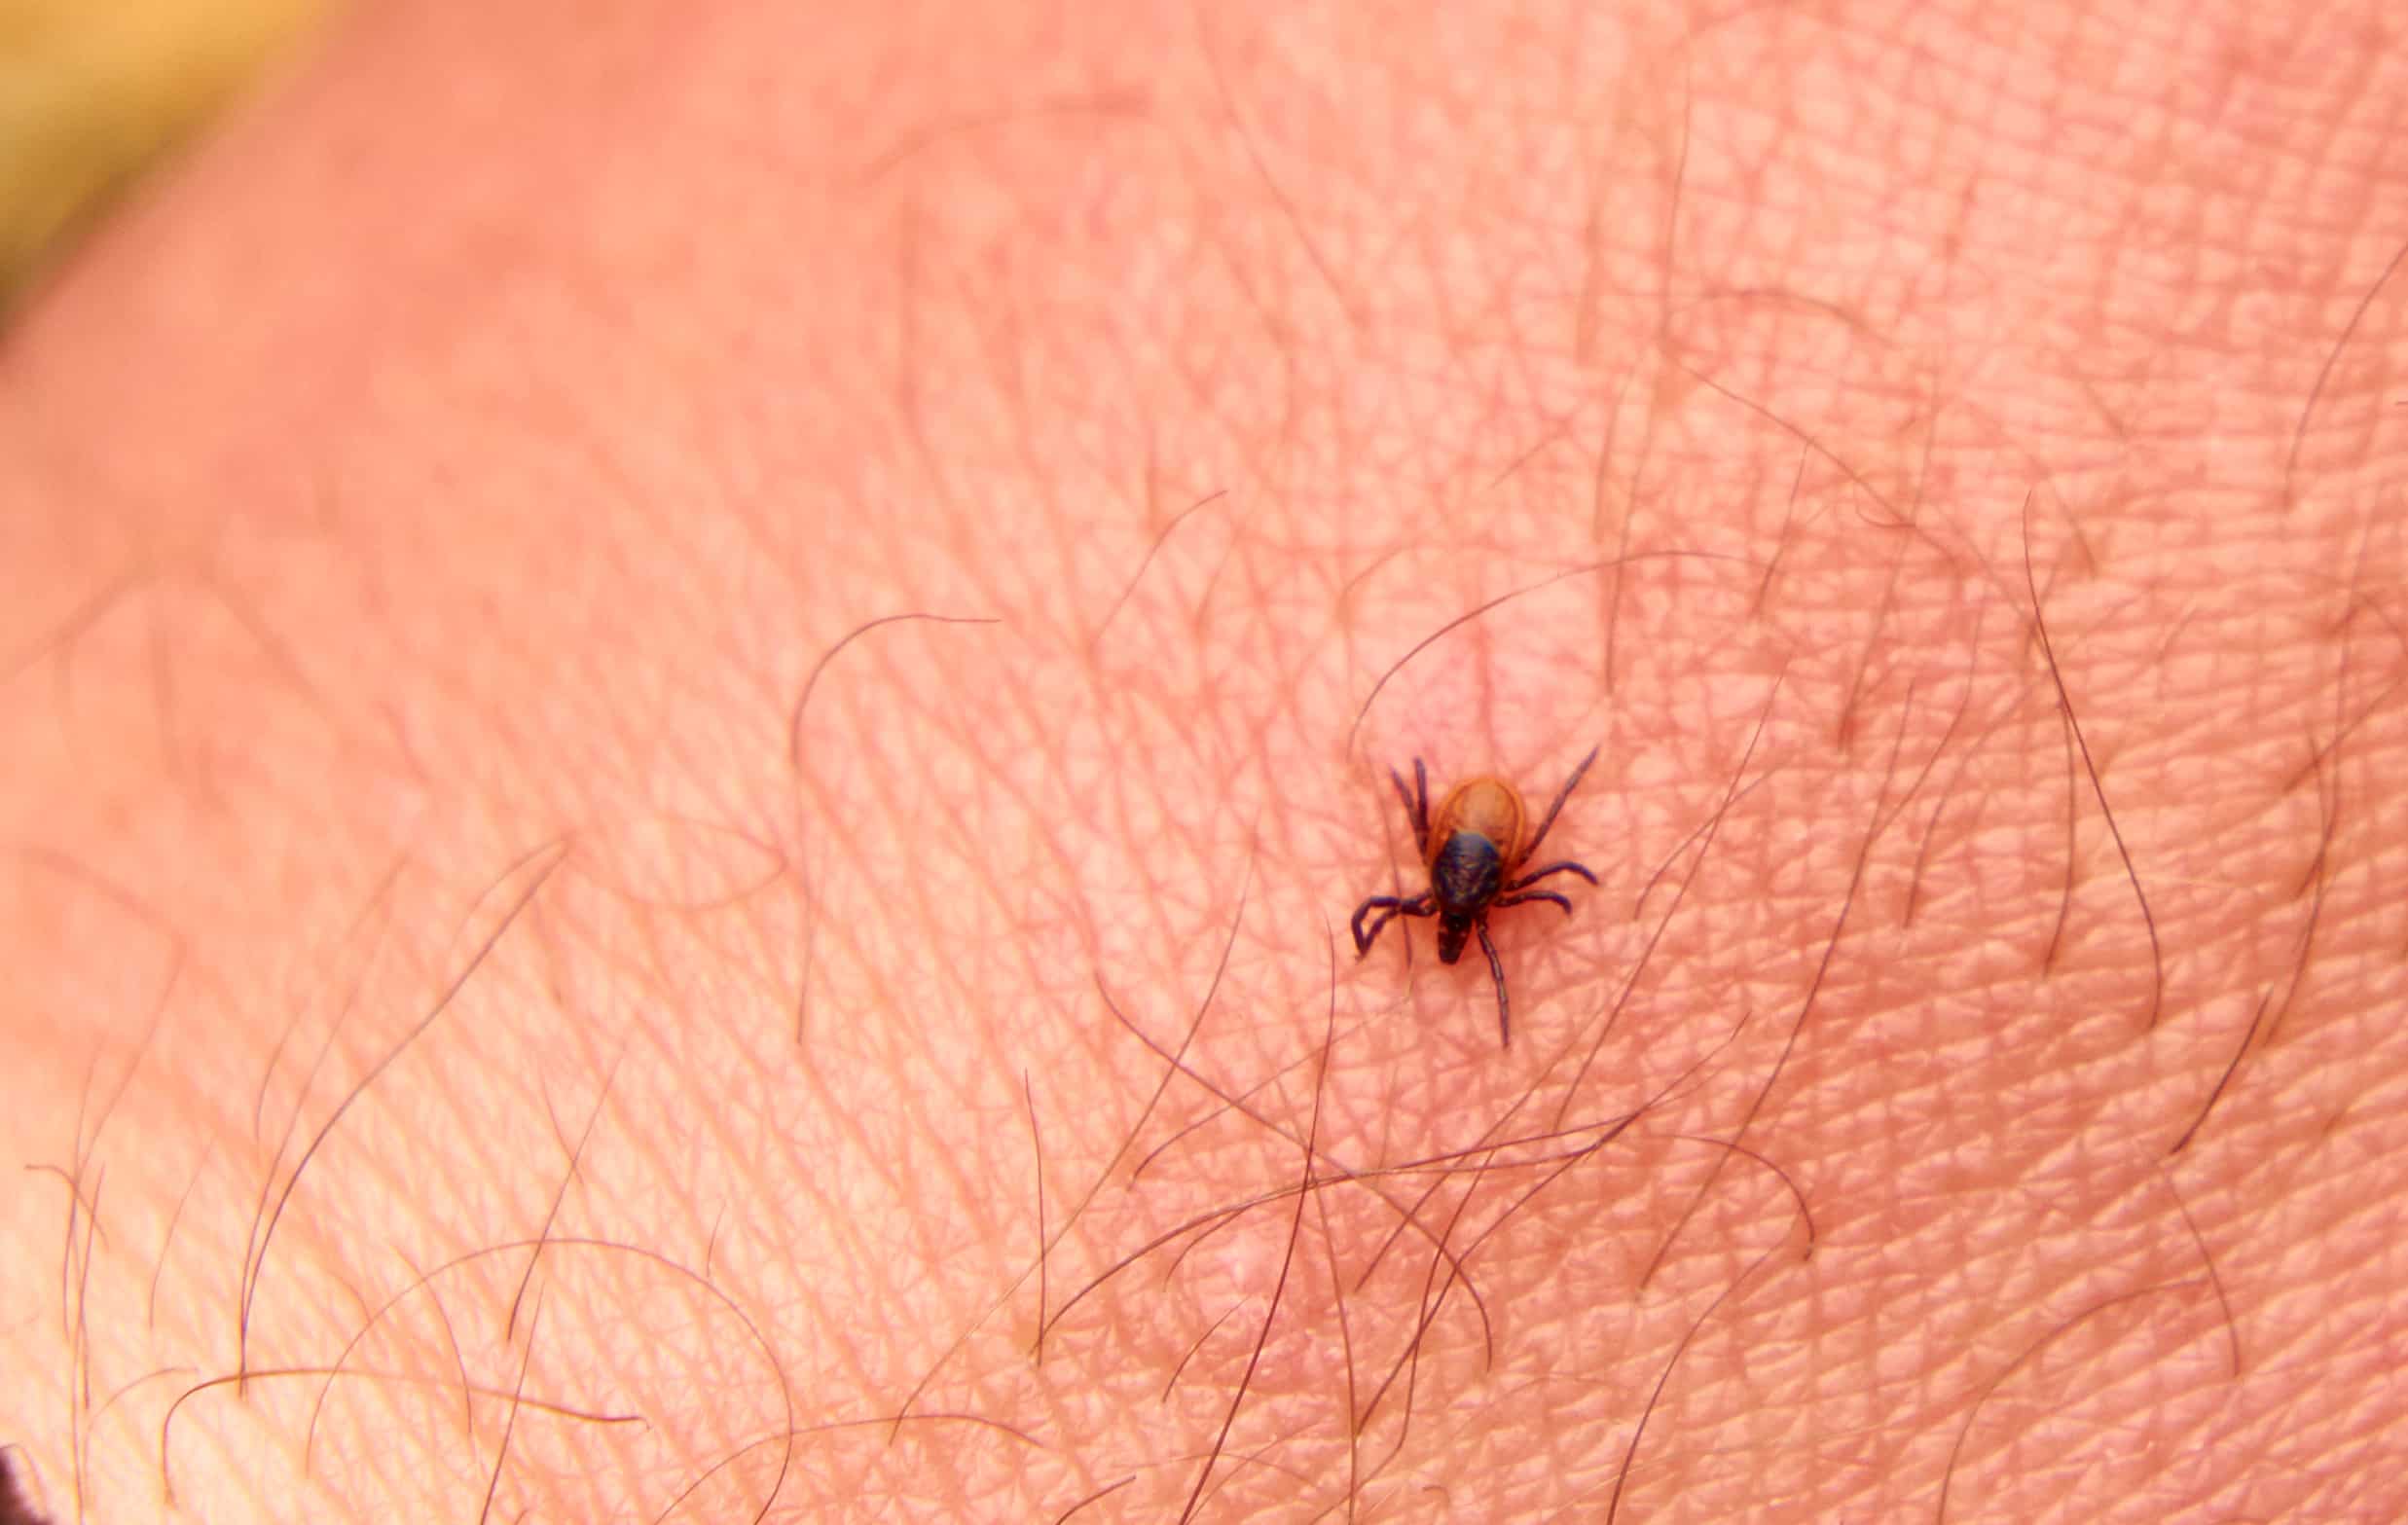
Chiggers or harvest mites are tiny red bugs that can stick to your skin when you walk in grassy areas. They inject digestive enzymes that dissolve and suck up skin cells—causing a red, bumpy, itchy rash that usually goes away after about two days.

How to Get Rid of Chiggers Naturally

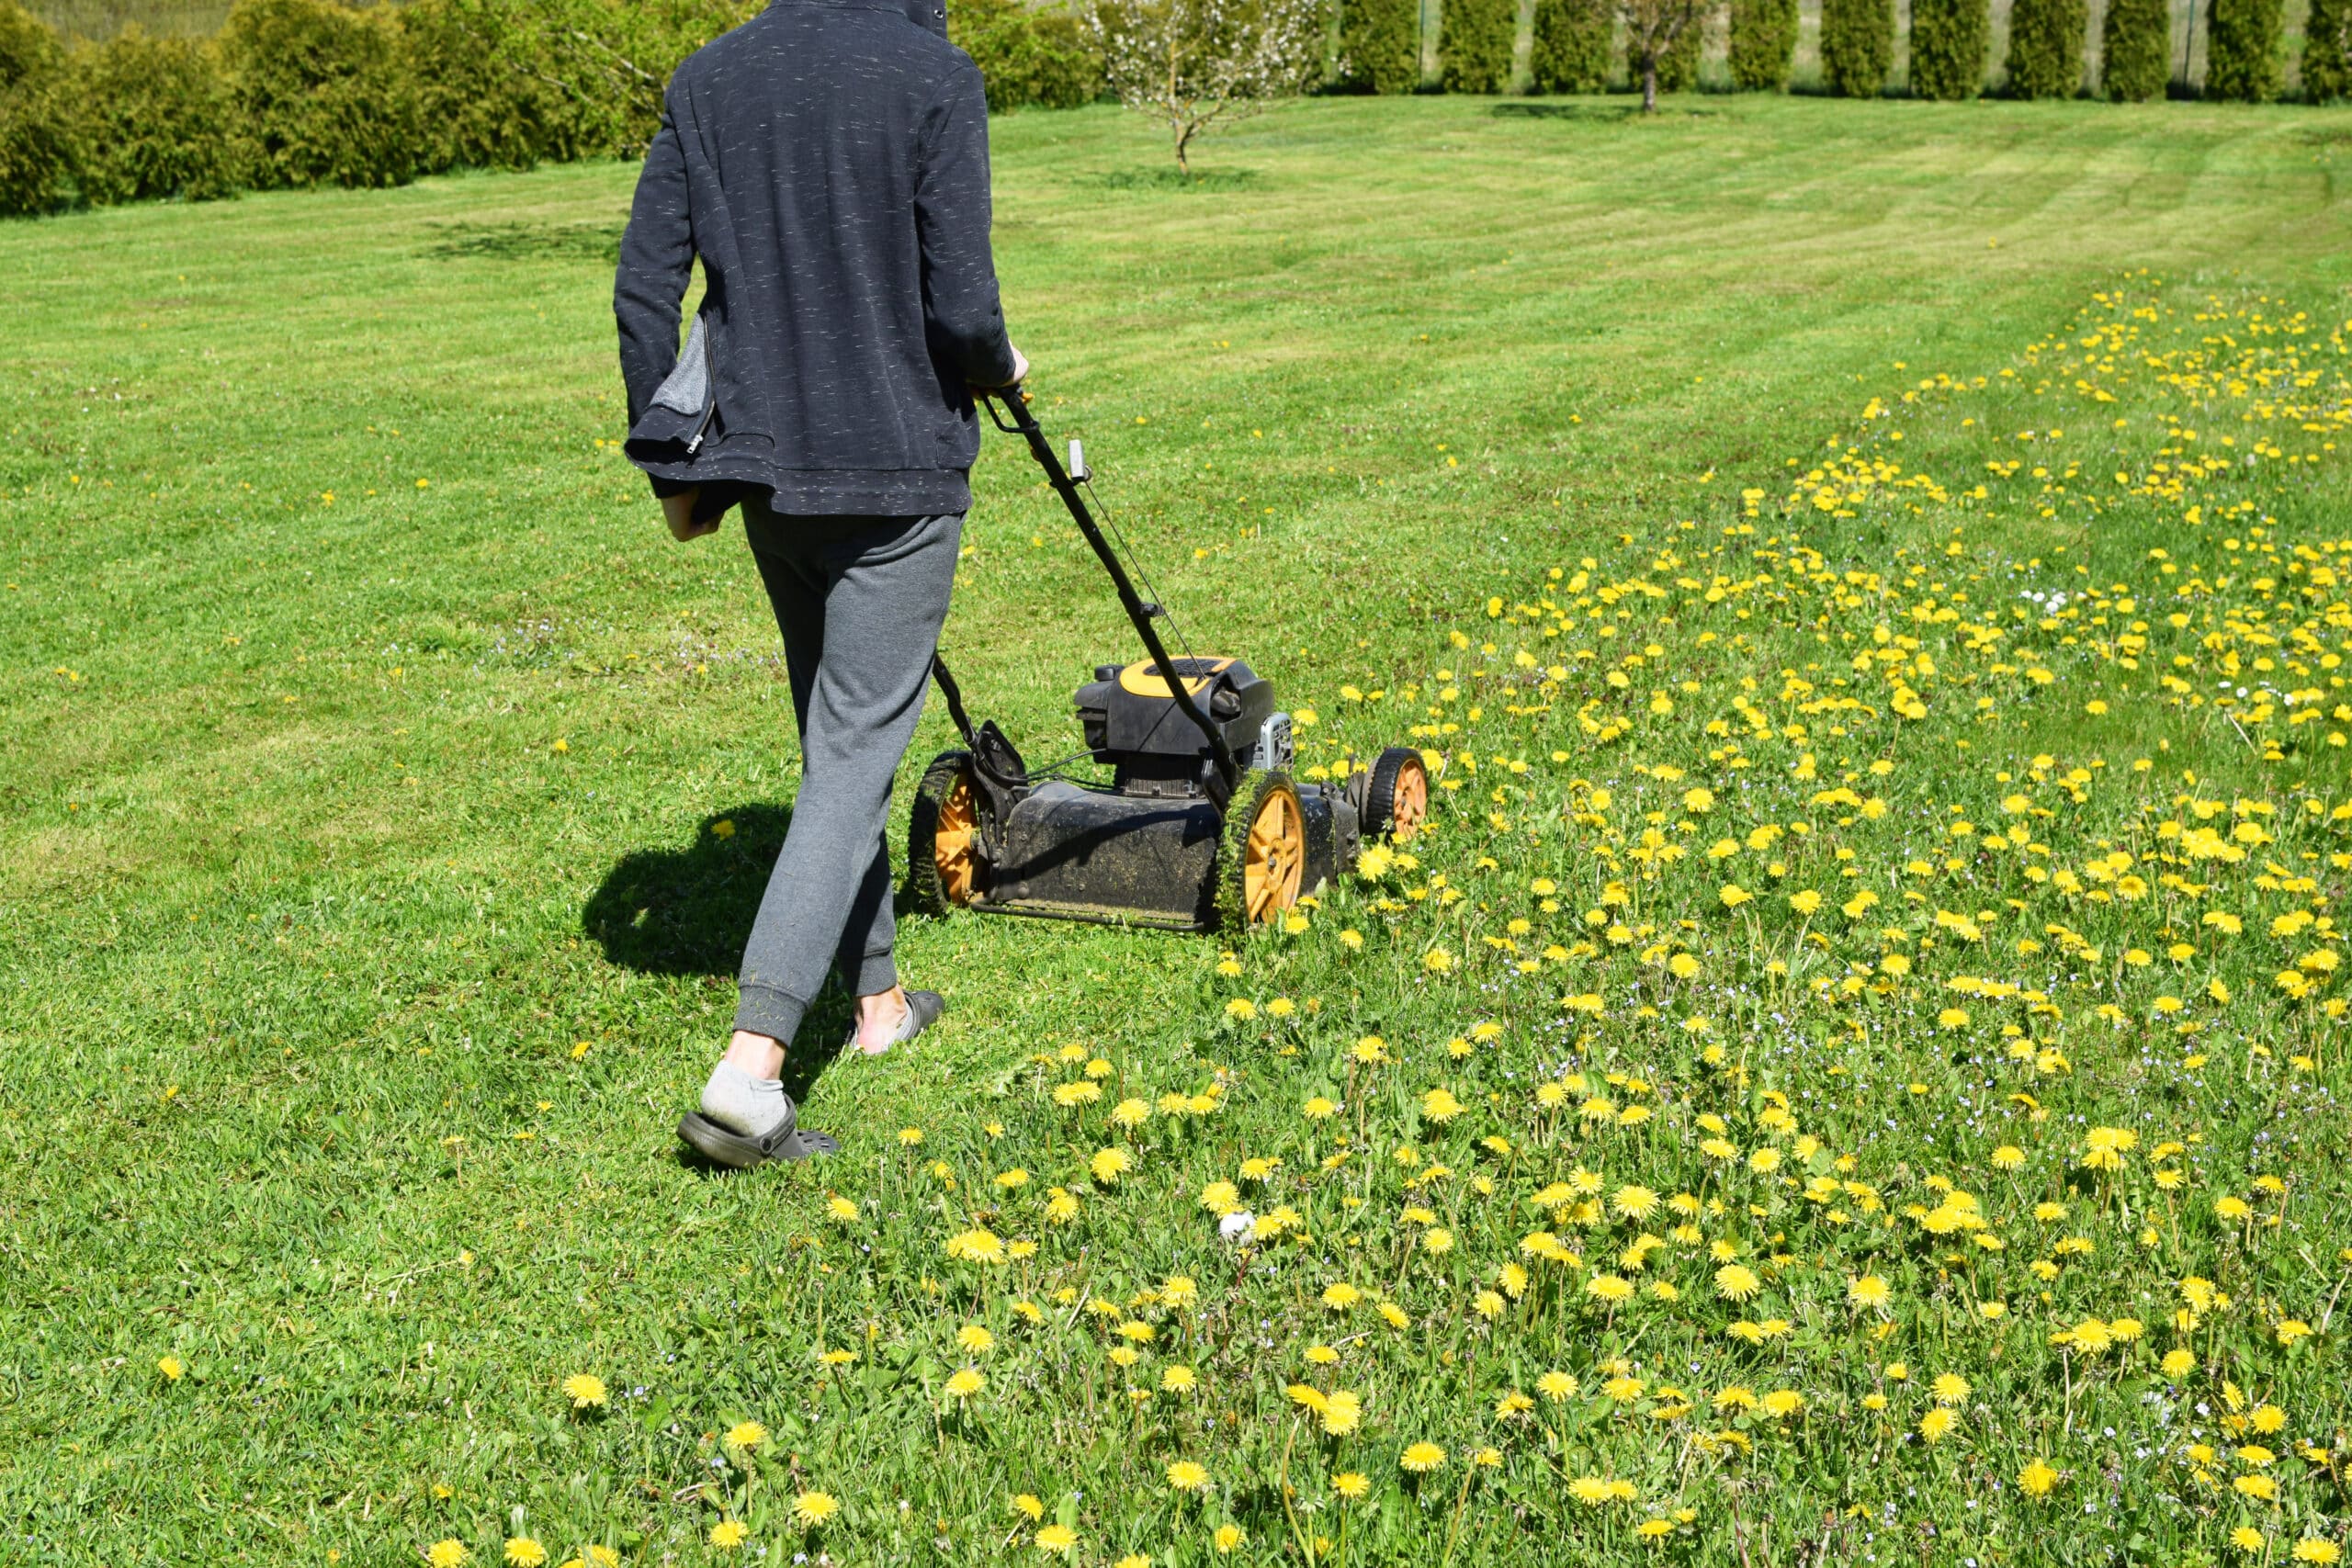
Teen boy mowing lawn grass in yard with lawnmower decorative plants thuja hedge on background in sunny summer day. Dandelions blooming.Children helping in householding and seasonal garden work concept

You don’t have to spend a fortune on chemicals and treatments to prevent chiggers unless you have a severe infestation. Instead, try these natural remedies:

Mow Your Lawn Often

Chiggers live in tall grass, so mowing your lawn will reduce their habitat by killing most larvae before they become adult chiggers and attach themselves to a host.

Mowing also exposes the critters in their hiding space, allowing you to treat and prevent them from spreading to other locations. It’s why cutting grass is always a part of guides on how to get rid of chiggers in yards.

Sprinkle Diatomaceous Earth

Diatomaceous earth is a natural substance made from the fossils of diatoms. It’s a fine, white powder with sharp edges that cut through the chiggers’ exoskeletons, effectively killing them.

Sprinkle diatomaceous earth on hot spots around your yard to kill the bugs crawling on the ground. Also, apply it to your skin to prevent chigger bites, or add a small amount to your bath water to soothe the itching and swelling.

Use Essential Oils

Some essential oils have insect-repelling properties that work wonders against chiggers. Here are examples:

  • Tee tree oil
  • Lavender
  • Peppermint
  • Clove
  • Citronella

To make essential oils effective and prevent them from irritating your skin, dilute them with a carrier oil like coconut or jojoba.

Apply Sulfur

Although sulfur won’t kill chiggers, it disrupts their metabolism, repelling them from your yard.

You must use the right sulfur proportions (1 pound of powder sulfur per 500 square feet of lawn) because a light application will spread the bugs to other areas instead of removing them.

Warning: Sulfur is toxic to pets, so if you have any, it’s best to choose a different method for preventing chiggers.

How to Remove Chiggers Using Chemicals

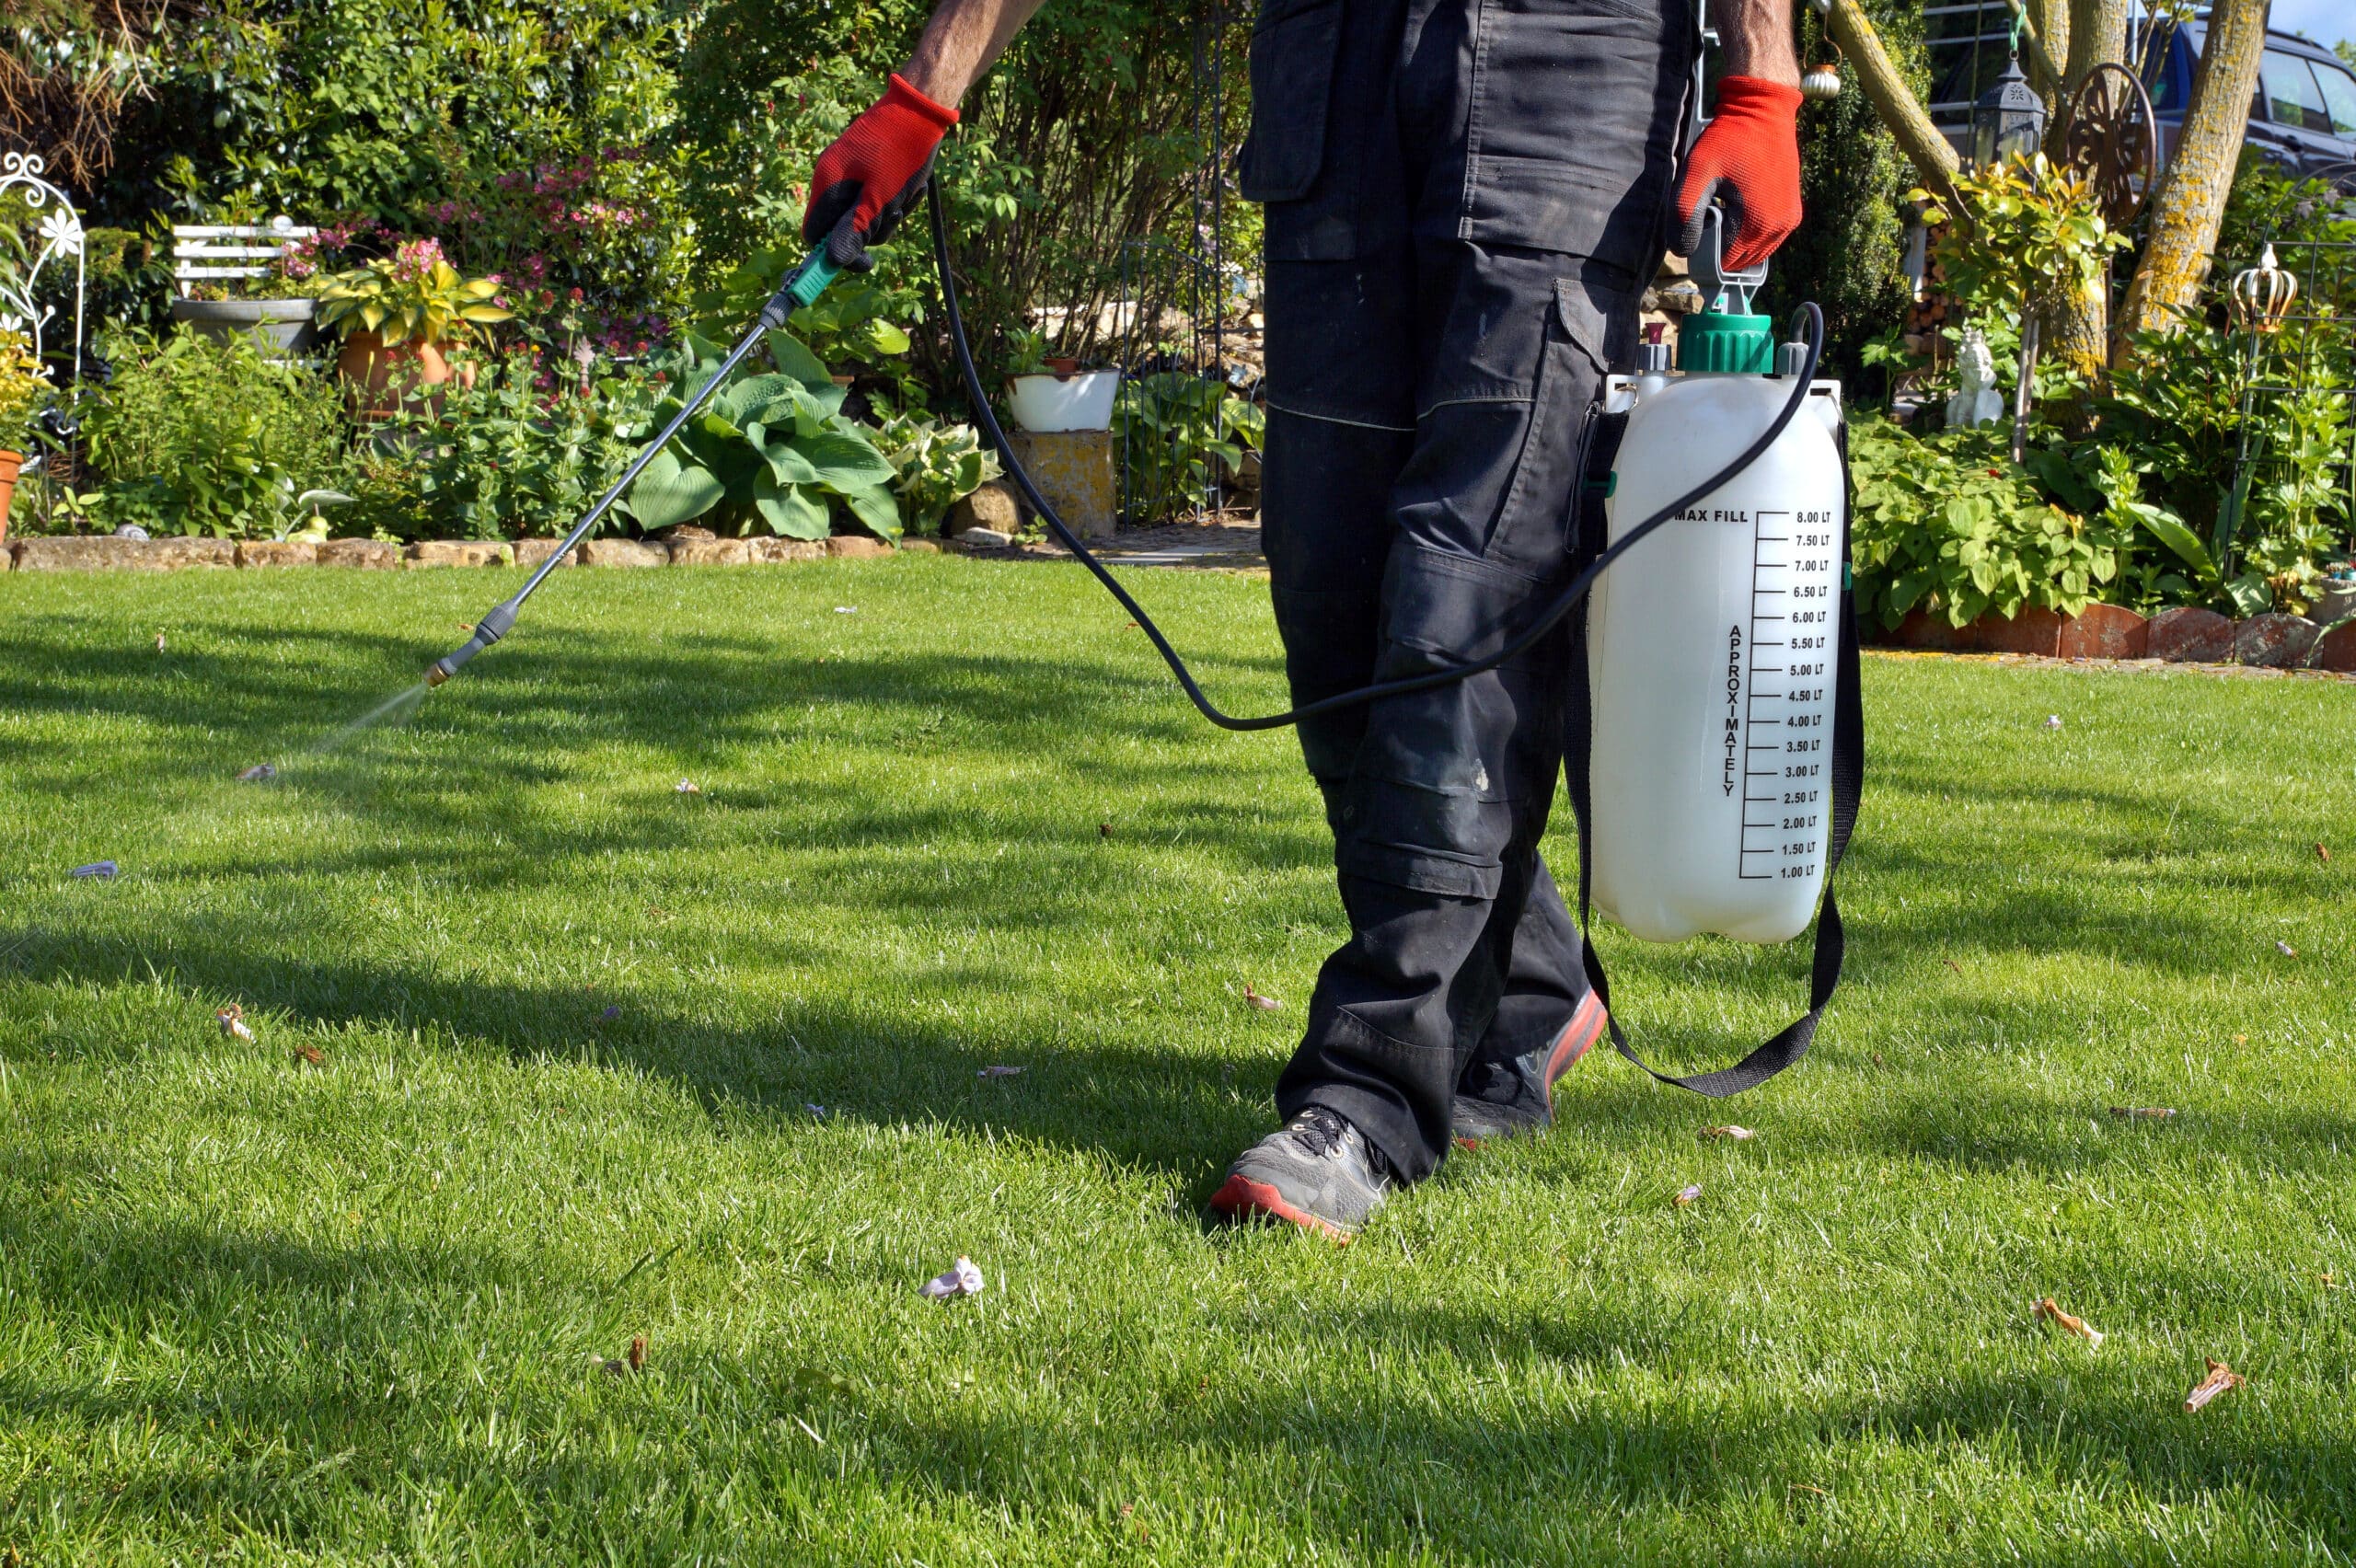
how to get rid of chiggers - spraying pesticide with portable sprayer to eradicate garden weeds in the lawn. weedicide spray on the weeds in the garden. Pesticide use is hazardous to health.

Sometimes natural methods are ineffective against chiggers, especially if you have an infestation. You may need to turn to inorganic or chemical options to kill these parasites. Consider the following methods:

Use Insecticides

Insecticides are most effective at killing chiggers when you apply them directly to hot spots like tall grass and shady areas. Use insecticides with the following chemicals to kill these bugs:

  • Cyhalothrin
  • Bifenthrin
  • Permethrin
  • Carbaryl

Apply Topical Treatments

Use insect repellent with DEET to control chiggers by applying them to your skin about 30 minutes before going outdoors. DEET-repellent is available as a spray, lotion, and stick.

Another option is to use ointments containing ingredients such as permethrin or benzyl benzoate, which are also effective against chiggers.

Chiggers vs. Jiggers: What’s the Difference?

Chiggers are mites from the Trombiculidae family found in warm, humid climates, while jiggers are fleas from the Tungidae family found in tropical and subtropical regions.

Chiggers attach to the skin and feed on your blood, causing itchy bumps, while jiggers burrow into the feet, causing more severe symptoms like pain, swelling, and infection.

How Do Chiggers Attach to a Host?

Chiggers Attach to a Host

Chiggers attach themselves to human skin with their sharp mouthparts. They use their claws to grip your skin and pierce it with blade-like mouthparts called chelicerae, injecting digestive enzymes that break down skin cells so the bugs suck them up.

What Do Chigger Bites Look Like?

Chigger bites look like small red bumps clustered together and are often confused with mosquito bites. They’re itchy and sometimes even painful and are common around warm areas like the ankles, waist, and groin.

What Is the Fastest Way to Treat Chigger Bites?

The fastest way to cure bites from chigger mites is to wash the affected area with soap and water as soon as you notice any swellings or feel intense itching. This will remove any remaining bugs on your skin.

Anti-itch cream or calamine lotion is also effective for relieving the itch. Here are additional tips for curing chiggers bites:

  1. Avoid scratching the bites, as this causes infections.
  2. Take an over-the-counter antihistamine, like Benadryl, to help reduce the itch.
  3. Apply a cold compress to the bites to reduce the swelling and itching.
  4. See a doctor for treatment if the bites are severe.

Does Rubbing Alcohol Kill Chiggers?

No, rubbing alcohol doesn’t kill chiggers. Chiggers are mites and don’t burrow into the skin. So, while rubbing alcohol kills some bacteria, it won’t eradicate the parasites.

Rubbing alcohol worsens chigger bites worse by drying out the skin, making you itch more.

How Do You Stop Chiggers From Spreading?

Chiggers spread from one part of your body to another. To stop them wash your skin with soap and water when you notice a chigger bite. You should also avoid scratching chigger bites because you may spread them.

Check out these extra tips to help stop spreading the parasites:

  1. Wear long sleeves or pants in areas where chiggers are common.
  2. Buy permethrin-treated clothing to protect yourself from chigger bites.
  3. Tuck your pants into your socks.
  4. Apply insect repellent containing DEET or permethrin.
  5. Wash clothes and bedding in hot water if they’ve been exposed to chiggers.

Can I Get Chiggers From Someone Who Has Them?

No, chiggers aren’t contagious. They won’t spread from one person to another through touch, contact with clothing, or sharing beds because they don’t burrow into the host’s exposed skin. They attach to it, feed on the blood, and drop off and die.

How Long Do Chiggers Stay On You?

Chiggers stay on you for 2-4 days after they bite. They are more active in warm weather and need to feed for a specified time before falling off.

If you think you have chiggers, wash your skin with soap and water and apply an anti-itch cream to stop scratching.

Get Rid of Chiggers Today!

If you ignore the signs of a chigger infestation, the problem will worsen. These parasites will continue to bite you, and the bites will become more itchy, leading to infections and severe health issues.

If you’re dealing with pests and parasites like ants, bed bugs, chiggers, mice, fleas, rats, roaches, termites, and other insects in the Twin Cities area, contact Environmental Pest Management. Our control services will help you get rid of chiggers quickly and effectively.

How to Protect Your Home From Flying Insects: Time-Tested Tips

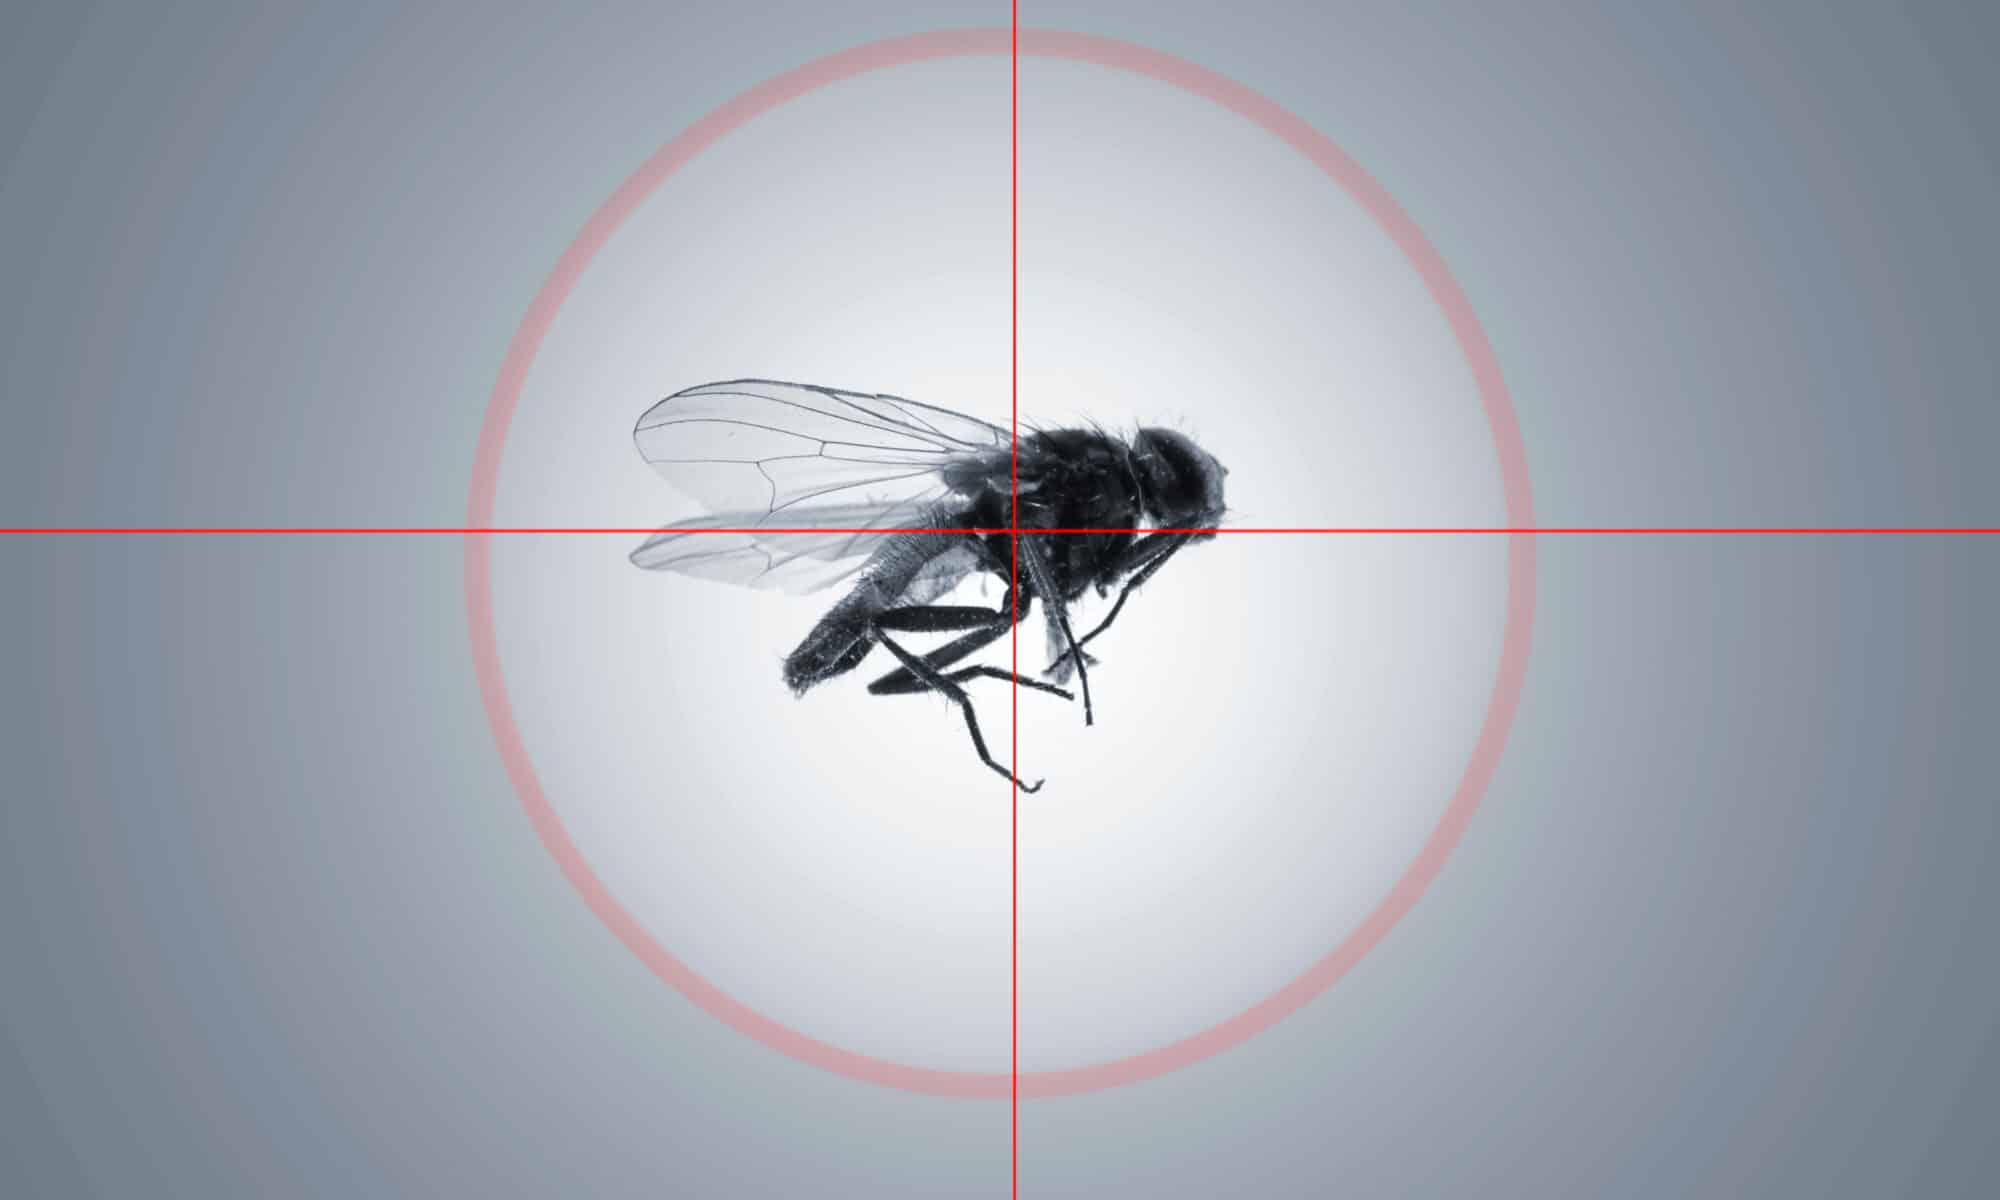
Target Fly
Target Fly

Whether they’re harmless to humans or leave a painful bite, flying insects aren’t generally anyone’s cup of tea. They can start showing up in small numbers until they like where they’re staying and breed more. 

When this happens, the problem shifts from annoyance to a serious risk of contamination. That’s why it’s better first to call a professional to come and assess the situation.

We’ll share with you several tried-and-true methods to get rid of flying bugs in a house and more!

Why Do I Have Flying Insects in My House?

The type of flying bugs you have is the major telltale of why they’re in your space. These are the four of the most common winged critters that homeowners encounter, along with what makes them enjoy their stay:

  • Fruit Flies: Fruit flies are slow fliers identified by their large red eyes. They prey on ripe or rotten fruit and fermented beverages, like wine and beer. Their usual breeding grounds are garbage cans and drains.
  • Phorid Flies: You can distinguish phorid flies by their hump-backed shape and their tendency to run erratically rather than fly. They’re either one color or a mix of brown, black, and yellow. These flies thrive in moist environments and decaying matter; their presence in the home usually indicates a sewage pipe leak.
  • Mosquitos: With their infamous bites and buzzing sounds, we think they’re easily spotted! Mosquitos love moisture, darkness, and warmth, so you’ll mostly find them hanging out in bathrooms, laundry rooms, and kitchens.
  • Fungus Gnats: Do you have indoor plants? If so, you may notice some admirers, known as fungus gnats, hovering around them. These insects are dark in color with long back legs and an overall appearance similar to mosquitos. The main draw for them in any house is potted soil and moisture.

How to Get Rid of Flying Insects: 4 Effective Methods

When dealing with large infestations, it’s always best to seek the help of professionals. However, if the soaring bug situation still hasn’t progressed, you can do or buy a few things to manage it:

1. Apple Cider Vinegar Trap

Making an apple cider vinegar trap is one of our favorite DIY fly-catching techniques; it’s easy, affordable, and gets the job done! 

Flying insects, particularly fruit flies, are attracted to the smell of this vinegar, making it an excellent ingredient for luring them into the trap. 

A scientific study even proved that fruit flies are drawn to vinegar more than fruits because its pungent smell is similar to that of rotten produce, which is their preferred kind! 

Here are four simple steps to making this trap:

  • Half-fill a jar with apple cider vinegar and a few drops of dish soap for a sticky texture
  • Cover the lid part with foil and secure it with a rubber band
  • Make tiny holes in the foil that the insects can pass through

2. Bug Zapper

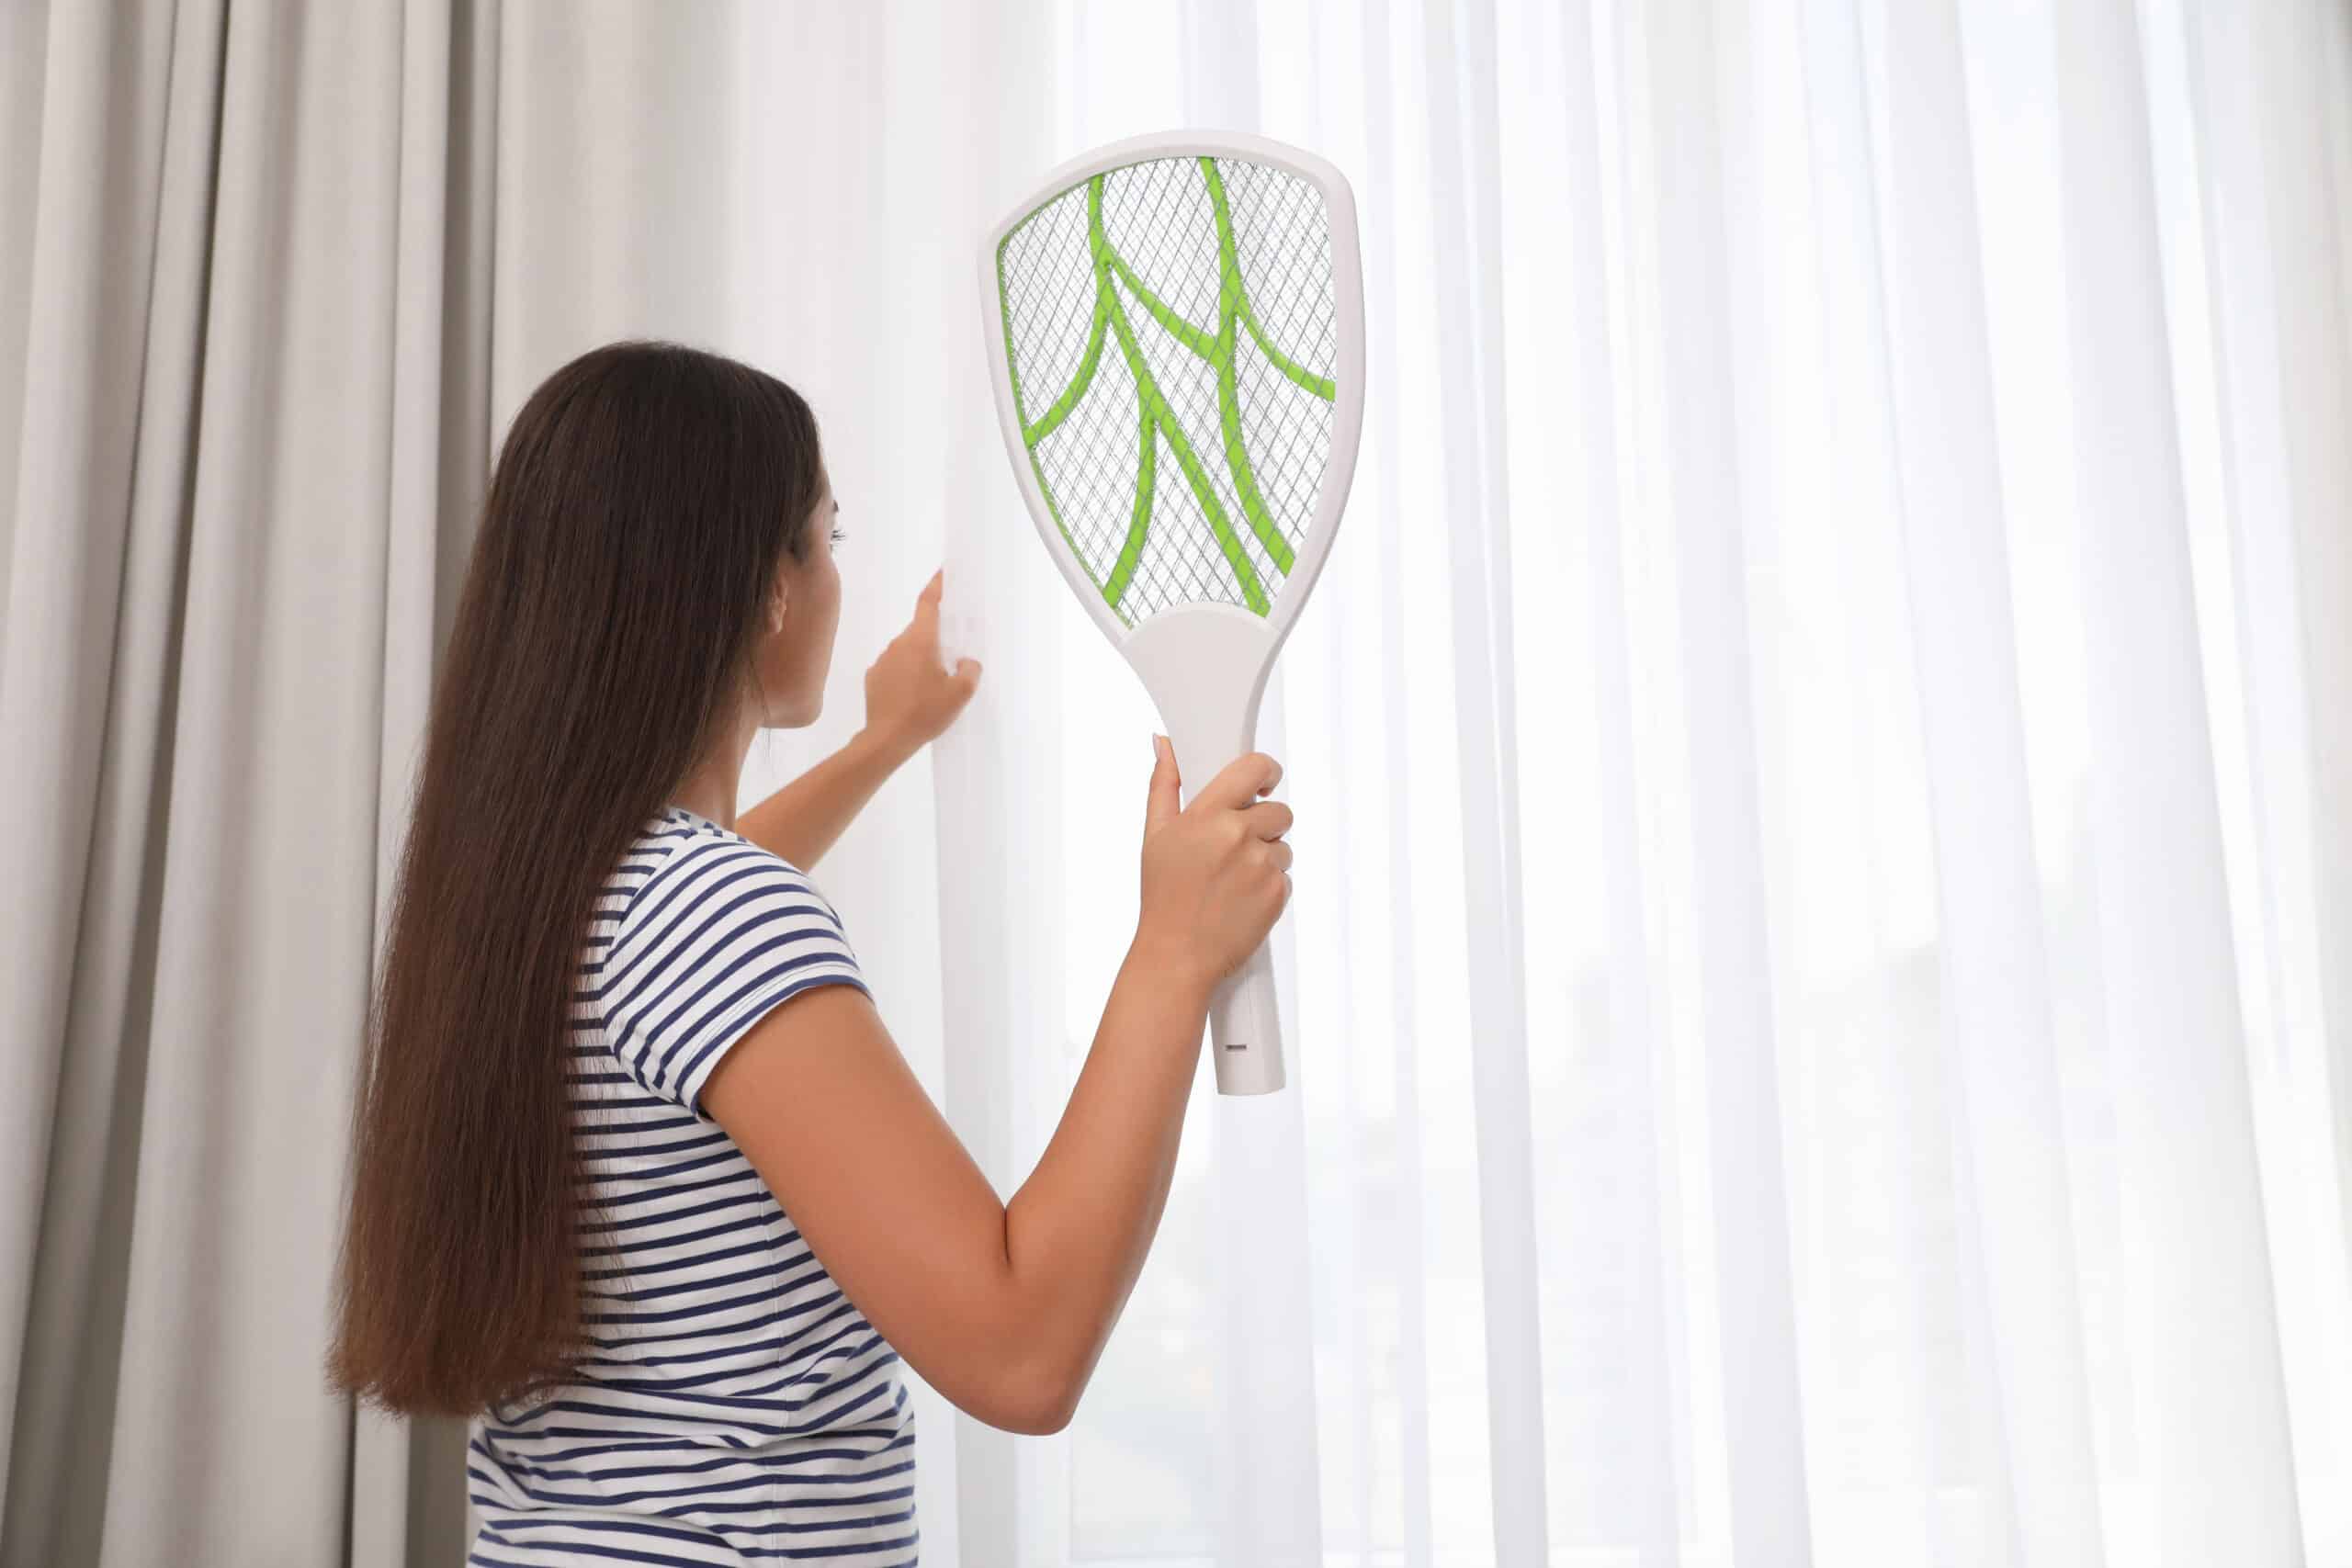
Young woman with electric fly swatter indoors, back view - Flying Insects killer

Investing in a high-quality bug zapper is a wise decision as it does an excellent job of catching and killing the majority of house flies. 

The mechanism of this device is quite interesting. Most air-dwelling insects are drawn to ultraviolet light as it helps them see the patterns in flowers they’re attracted to. 

Bug zapper manufacturers took advantage of this fact by incorporating ultraviolet light into their devices. When insects take the bait and enter, a high-voltage electric current strikes their bodies and vaporizes them. 

It’s worth noting that fly zappers don’t work well on flying insects that aren’t attracted to ultraviolet light, such as mosquitos. 

3. Rosemary Plants

Mosquitoes despise the smell of rosemary. And most flying bugs aren’t usually fans of this plant’s smell, which is why it’s effective for repelling them; however, it doesn’t kill them.

We recommend keeping a couple of rosemary plants in areas where these insects could pose a threat, such as the kitchen, as an effective deterrent. 

4. Essential Oil Spray

Lucky for us, flying insects are highly irritated by the scent of essential oils such as:

  • Lemongrass
  • Eucalyptus
  • Lavender
  • Peppermint

You can capitalize on that by making a spray that’ll leave your house smelling amazing while keeping winged critters at bay. Combine 5-10 drops of essential oil per ounce of water in a spray bottle and shake well. Spray furniture, the area around windows and doors, curtains, and so on. 

This solution also works wonders in repelling yellow jackets, so you can enjoy spending your day outside.

3 Ways to Bug-Proof Your Home

Young worker installing mosquito net wire mesh in plastic window frame. Protection from insects

To keep unwanted visitors from entering your home in the first place, you need to make it as unappealing for them as possible. These three tips have always proven to be effective in this regard:

  1. Install Insect Screens: These are essential for any open structure in your home, like windows or vents, as they help to lock out a variety of pests.
  2. Keep Surfaces Dry: If flying insects have one thing in common, it’s that they thrive in moisture, so make sure to dry any damp surfaces or spills right away.
  3. Seal and Store Food: Different kinds of food attract multiple types of insects. Whatever food you have, ensure it’s properly covered and stored so these flying bugs can’t get to it. 

Wrapping Up

With the help of a few easy-to-find products, you can limit the presence of flying insects in your home. Whether you use an essential oil spray to repel them or a fly zapper to kill them, the methods we mentioned can show promising results. 

But keep in mind that they usually serve as short-term fixes. Check out our services at Environmental Pest Management, choose what best suits your needs, and we’ll help implement long-lasting solutions!

How to Get Rid of a Wasp Nest for Pest-Free Home

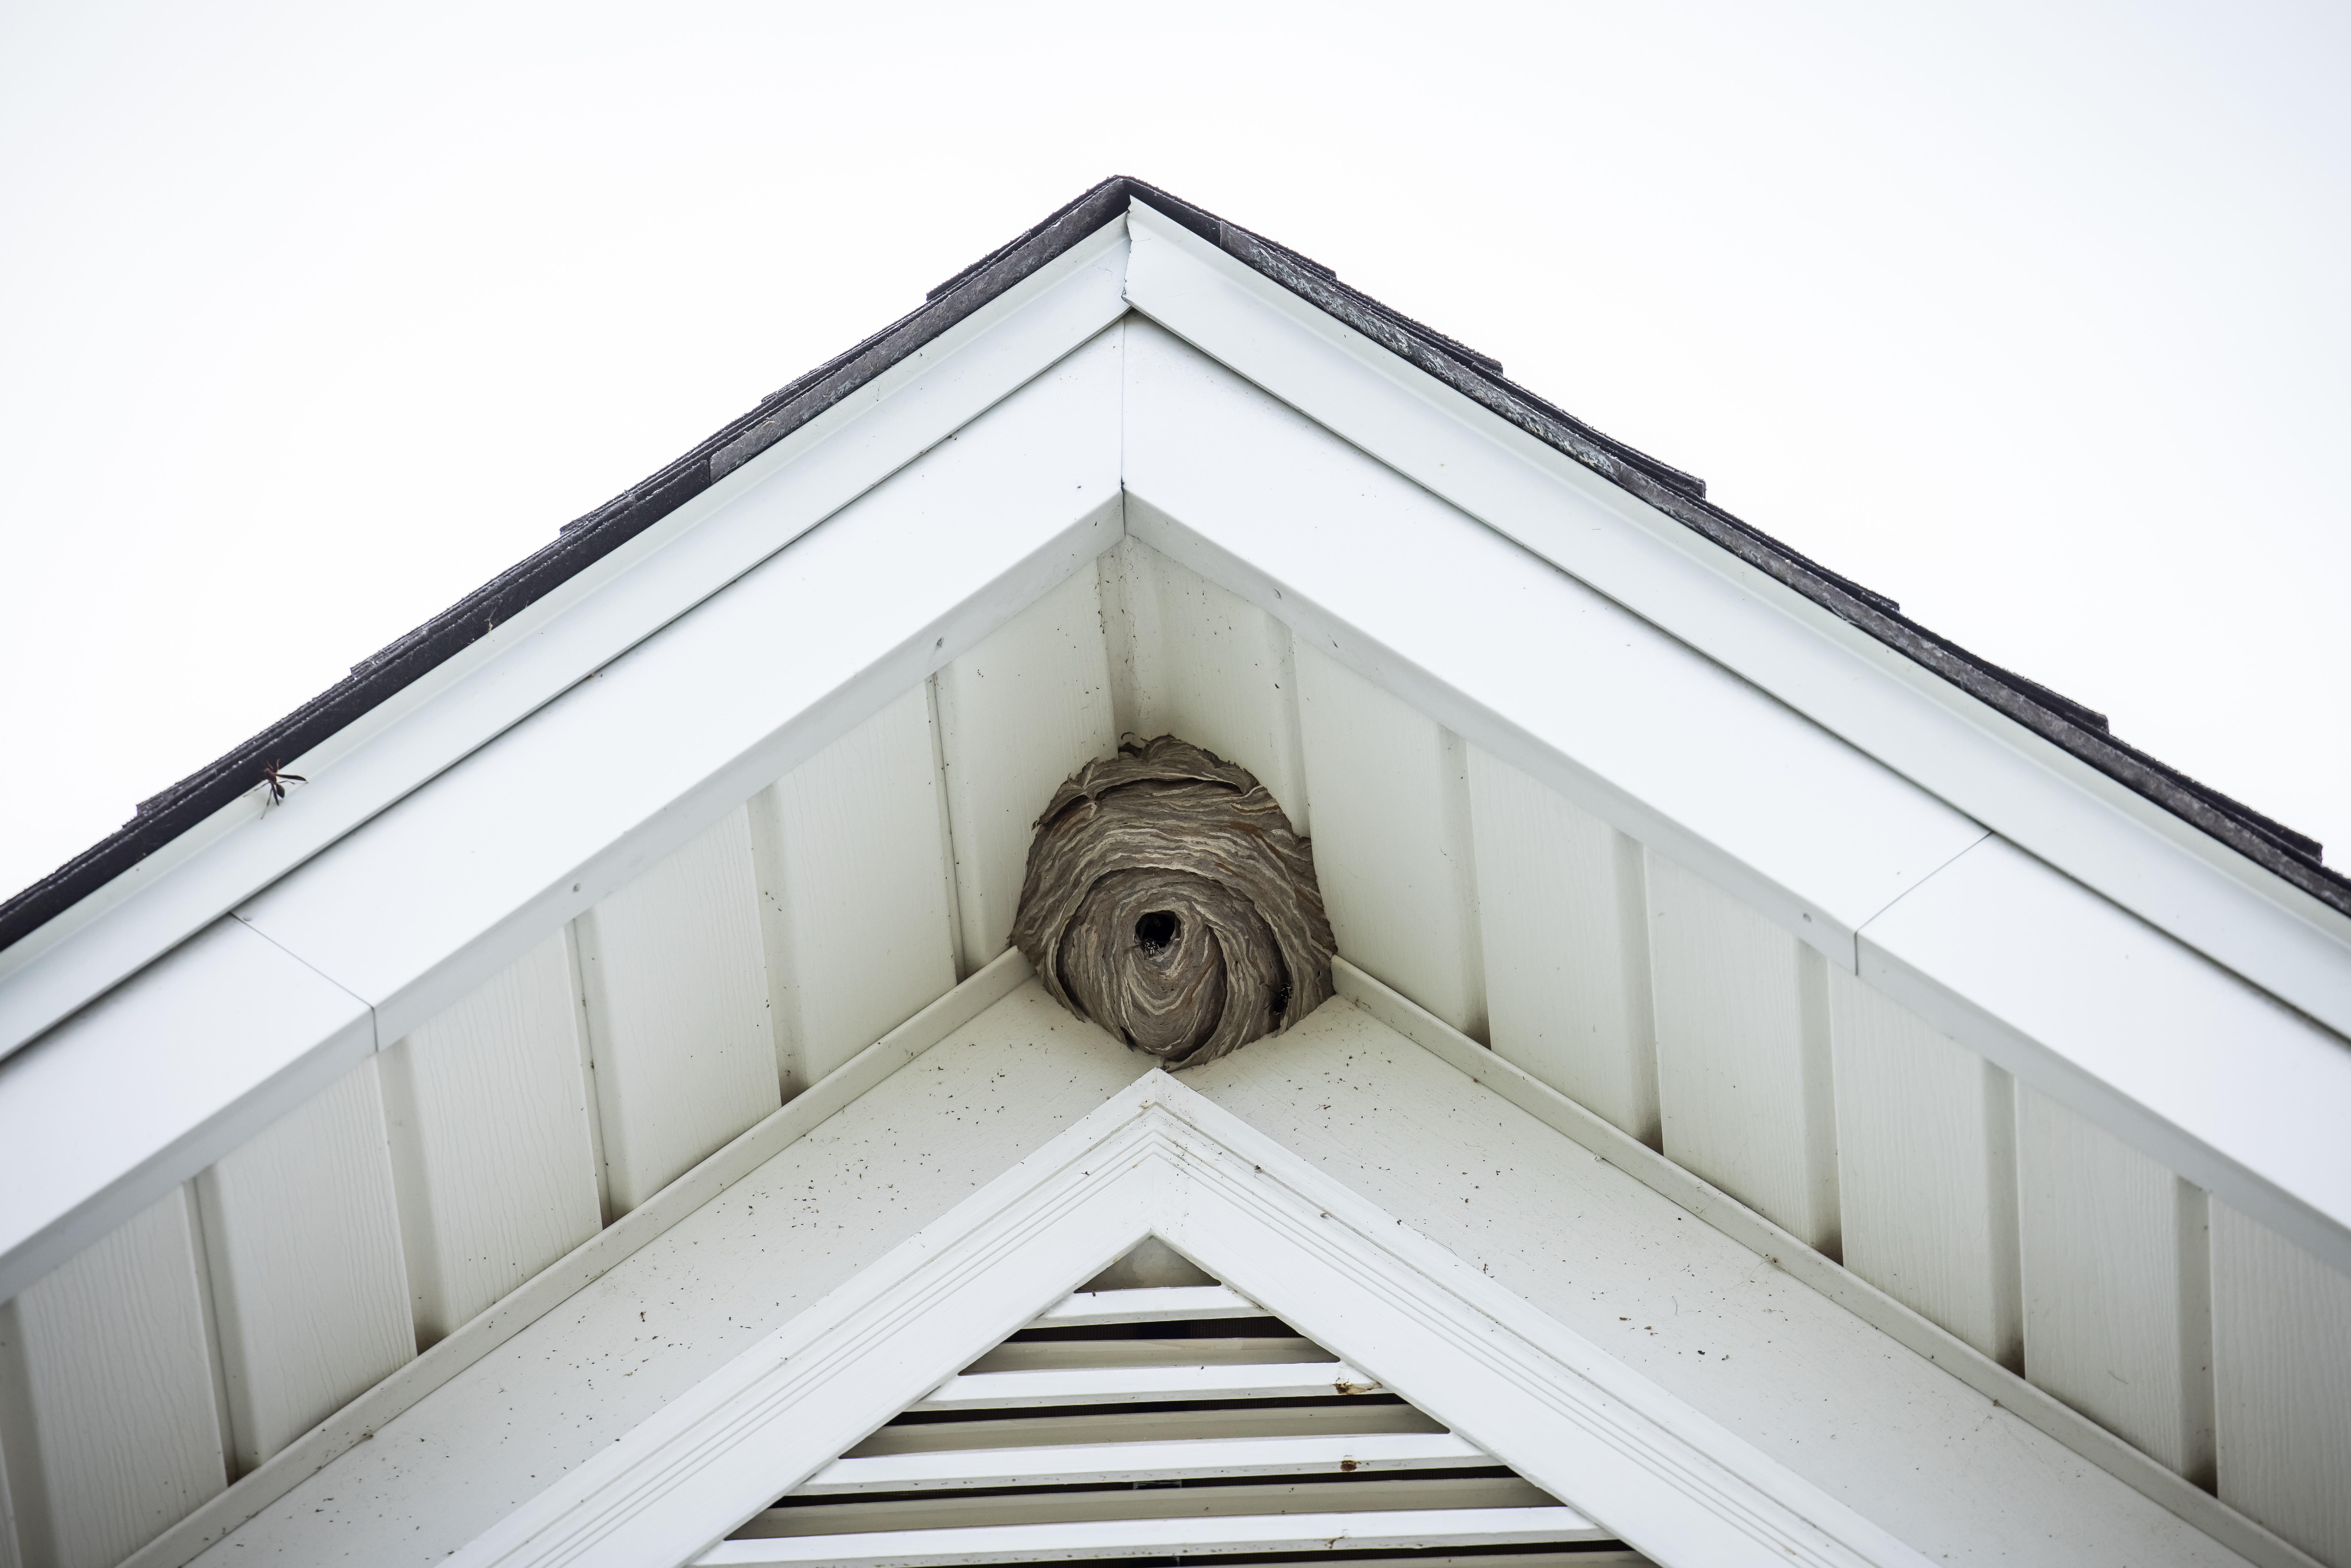
A large hornet's nest in the top of a house

Like most insects, wasps can be annoying, but they’re usually peaceful. The problem arises when they feel threatened or think you might attack their nests. 

In order to protect themselves and their homes, wasps use their stings and “revenge” on intruders, which can be painful. 

Read on to learn how to get rid of a wasp nest from your yard safely. For a more comprehensive plan in pest control, contact Environmental Pest Management.

Where Wasps Nest in Your Home

If you spot a couple of wasps once in a while, that shouldn’t be a problem. But if you start seeing swarms of these insects buzzing around your house, it’s sure there is a nest nearby.

Look for nests where wasps usually make them, such as around the roofs and gutters, in sheds, on trees, and in the attic. Pay particular attention to areas like AC openings, windows, and cracks in walls, as nests can be hidden in corners. 

Sometimes, wasps can make nests in the ground. That can be especially problematic during the fall, when the leaves fall and cover these small forts. Then there is a great chance to step on them and cause a real wasp revolution.

After spotting the wasp nest, you should look for the best way to remove it and thus make these insects emigrate from your yard. You’re always free to try some DIY, but for best results, call an expert for wasp nest removal.

Best Methods for Wasp Nest Removal

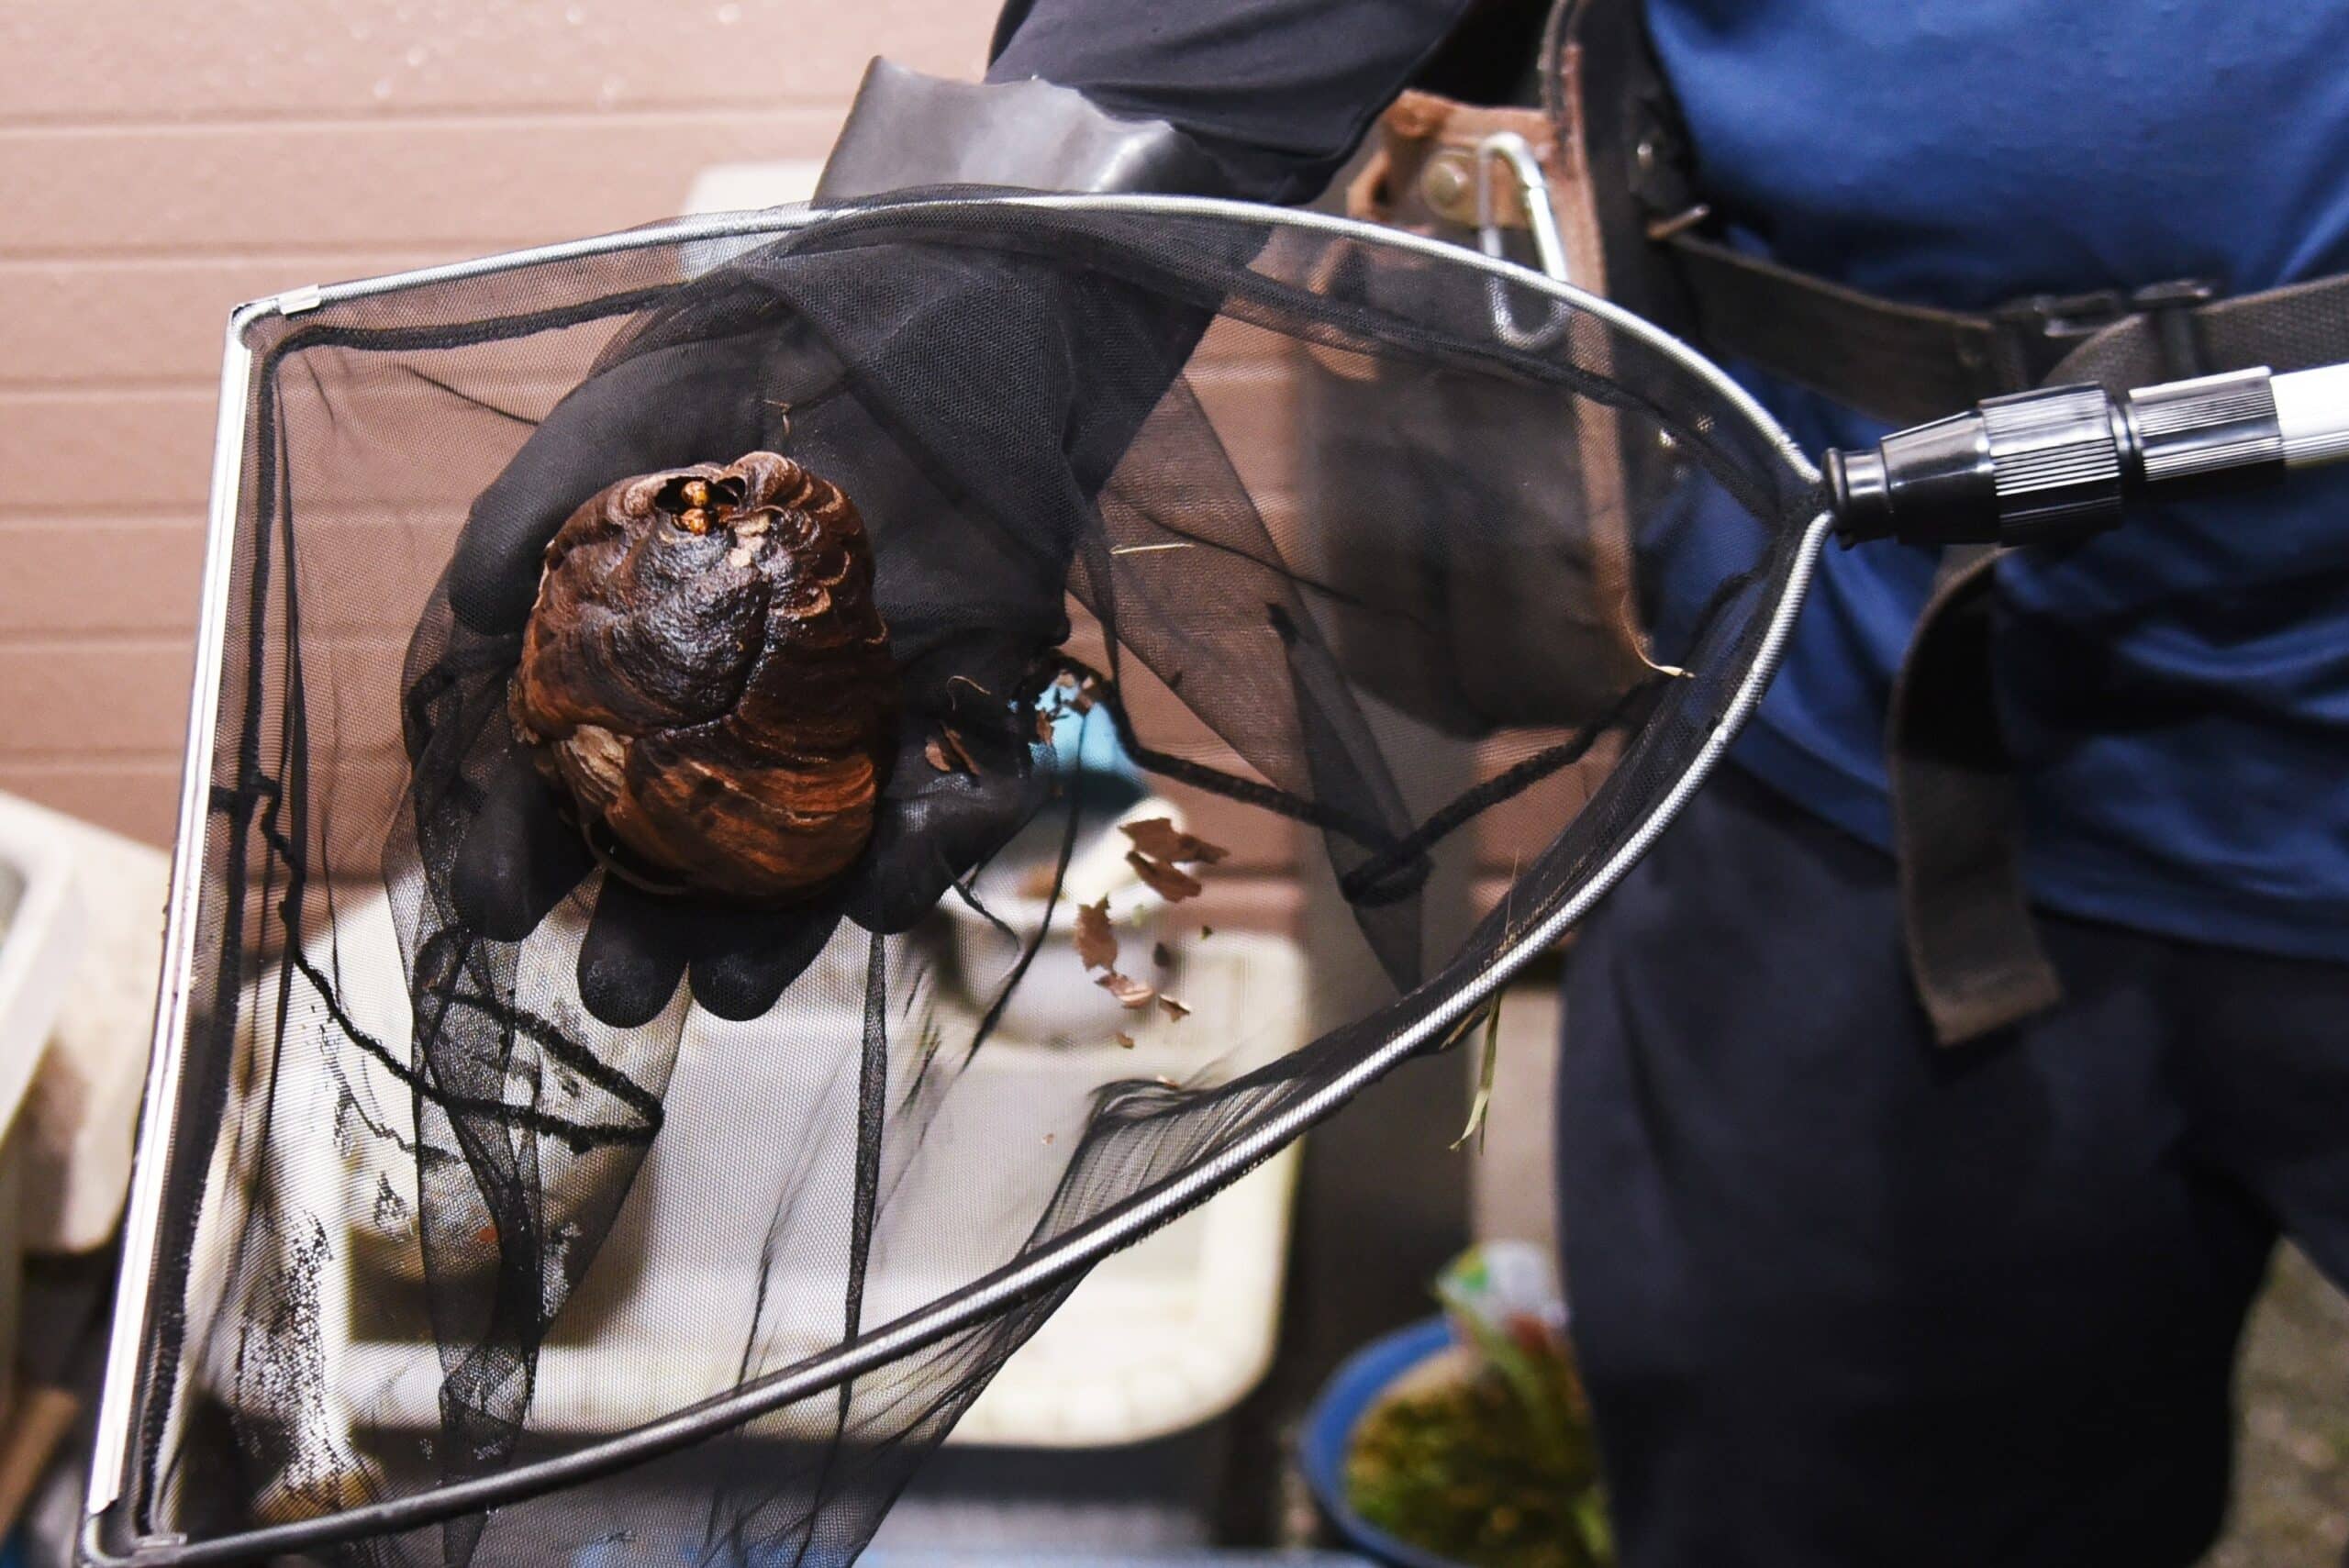
How to Get Rid of a Wasp Nest - Extermination of hornets. Nest removal work.

Destroying wasp nests in your garden or yard will help you reduce the number of these insects and prevent them from hurting you. The nest location will tell you a lot about the wasp species you’ll be fighting, so you can find the best removal method.

Physical Removal

This method doesn’t require special tools or chemicals and is suitable exclusively for paper wasps nests. These insects aren’t too aggressive, so the nest is relatively easy to remove. But, of course, this doesn’t mean that caution isn’t necessary.

You’ll easily recognize paper nests by their umbrella shape and large openings. They’re mostly small, but if you don’t remove them in time, they can grow quite a bit during spring and summer, when wasps are most active.

Here’s how to get rid of a wasp nest that hosts paper wasps:

  1. Put some protective clothes on, and don’t forget gloves and glasses (use a beekeeper suit if you have one).
  2. Locate the wasp nest in your yard.
  3. Prepare the tools: a broom or mop handle or anything you can put on a long stick; a can of compressed air or a water jet will do, too, as these nests are light and fall off easily.
  4. Hit the nest with a stick, spray it, or hit it with a water jet.
  5. When the nest falls off, smash it with your safety boots or spray it with an over-the-counter pesticide.

If the paper nest hangs from a branch or porch, you can drown it this way:

  1. Approach the free-hanging nest quietly.
  2. Spray it with some wasp control product.
  3. Use a trash bag or sack and wrap the nest with minimal disruption.
  4. Slowly detach the nest from the roof or tree.
  5. Close the bag as soon as possible, tie it tightly, and put it into an enclosed trash can.

Use DIY Wasp Nest Removal Treatments

As effective as commercial wasp sprays are, we can’t help but mention their possible side effects and potential toxicity. Substances from these products can be harmful to people and small animals. And if you use these sprays in the garden, they can also adversely affect the plants.

That’s where DIY wasp removal treatments come in handy. You can try a natural wasp trap and then proceed to DIY killer sprays and repellents. 

Vinegar and Soap Wasp Trap

For this trap, you need the following:

  • Two cups of vinegar
  • Two cups of sugar
  • One cup of warm water
  • A quarter cup of a dish soap

Mix all ingredients except soap until the sugar dissolves. Add the soap and mix to combine everything well. If the bubbles pop up, let the mixture sit until they settle.

During this time, make a trap. You need one small bottle to cut off its top to about one-third. Turn this piece over and place it so the bottle opening is now inside. Tape the edges to hold everything in place. Pour the prepared mixture into a bottle and hang it near the wasp nest.

Attracted by the smell of vinegar and sugar, wasps will enter the trap but won’t easily find their way out. Eventually, in the struggle to get outside, they’ll suffocate from the soap fumes. Shortly, you’ll see the reduced presence of wasps, making it a perfect chance to remove the nest. 

Use Pesticides

DIY treatments may not give the desired result, especially when you deal with large colonies of wasps with several queens. You can’t kill them easily, and if they survive, they can rebuild and increase their colonies many times over. Thus the start of your pest problem.

So if natural traps and killer sprays didn’t work, you should try store-bought pesticides. Use them before physically removing the hive several times if necessary to ensure they have effectively reduced the number of insects and sting risks before destroying the nest.

If you’ve noticed ground nests in your garden, traditional spray pesticides can’t help you. What you need is insecticidal dust that penetrates through the soil to the nest interior and kills wasps almost immediately. Use this product according to the instructions and ensure no kids and pets are around. Be sure to wear a protective mask to avoid inhaling fumes.

Call Professionals

If you can’t handle wasp nest removal alone or might have an allergy to these insects (or don’t know your allergy status), calling exterminators is the best thing you can do. They have all the skills and experience in these situations. Not to mention they’re fully equipped with safety gear and wasp nest removal tools.

Calling professionals is a must if you deal with hornets or yellowjacket wasps, which are more dangerous than paper wasps. Also, you might need their help if you have a large or inaccessible hive around or recurring wasp issues. These experts can help you find the source of this problem and manage it successfully.

How Not to Remove Wasp Nest

Wooden Blocks with the text: Avoid

Now that you know how to get rid of a wasp nest safely, you should pay attention to methods that can be counter-effective or even dangerous and avoid them.

Using Fire

Paper nests are relatively easy to destroy, so many people think not to hit them but simply set them on fire and watch them burn together with their buzzing residents. Another method is to light the fire underneath the nest and let the smoke chase the wasps away.

Both ideas seem good, but the implementation will most likely fail. 

First, lighting a fire near the house and trees is by no means safe because even the slightest carelessness can lead to a fire. 

Second, fire and smoke won’t kill all the wasps but only disorient some. Those that survive will become very aggressive and sting anyone they come across.

Using Water

Just like with fire, water is a bad choice for wasp nest removal. You might benefit from a water jet to knock down the nest from the roof edge or tree, but you shouldn’t use water jets if you spot the nest inside your attic, on your porch, or in a garden shed, as you might damage your property.

Flooding the hive and thus suffocating the wasps won’t work as you might think it should. Trying to kill the pests this way will leave them vicious and aggressive. As they’re quite intelligent insects, they’ll put themselves together very fast and prepare for revenge with their sharp pricks.

Smashing the Nest

Hitting the nest with a short stick or a baseball bat is probably the worst idea you can have. 

First, you won’t kill the wasps that way, as they’re small and can easily get away while you hit the hive.

Second, smashing the wasp nest on the spot is dangerous and can leave you with dozens of stings. That can be harmful to your health if you’re allergic to these insects and potentially risky if you don’t know whether you’re allergic to them.

Dos and Don’ts of Wasp Nest Removal

Do and don't words written on papers on a tree with arrow signs. Dilemma between what to to or not to do concept.

If you ask how to get rid of a wasp nest but haven’t done that before, here are some helpful tips and beginners’ mistakes to avoid.

Dos

  • Wear protective equipment: You need protective clothing for this job. It’s important to cover your face, especially the eye and neck, because a wasp bite in these areas can be very painful and dangerous.
  • Evacuate the area: Wasp nest removal usually doesn’t take long, but it’s advisable to keep your kids and pets away during this time. Tell them to stay in the house, or better yet, to go for a walk while you finish your work.
  • Have a first aid kit on hand: Wasp stings aren’t dangerous if you’re not allergic, but they can be painful. An ice pack, an anti-inflammatory remedy, and some antihistamines will ease the pain, but pay attention to the wound for the next 24 hours in case of an allergic reaction.

Don’ts

  • Avoid using ladders: If the wasp nest is too high or inaccessible, stepping on ladders to reach the hive is a bad idea. Not only do you risk being stubbed, but you also risk falling from the height when a wasp swamp attacks.
  • Don’t use electric tools: Wasp nest removal should be done quietly and discreetly to not disturb its buzzing residents. Electric tools like drills, chainsaws, and the like aren’t a good choice for this job because they’re loud and produce vibrations that make the wasps go crazy. Plus, they won’t be of use if a hive is high up.
  • Avoid flashlights: When a nest is in a hidden corner, or you remove it in the evening, you need some extra lighting. Wasps find flashing and LED lights irritating, so pointing a flashlight into their nest greatly disturbs them. To avoid that, use red light that’s far more discreet.

How to Perform Wasp Control

Whenever you can, try not to kill the wasps, as they’re excellent pollinators; instead, try to deter them with insect repellents and prevent them from nesting in your yard.

Other methods you can use for wasp control include the following:

  • Apply insect repellents to areas where these insects can build nests; good natural remedies are essential oils, such as mint, lemongrass, and sage.
  • Use insect traps.
  • Seal large cracks in your walls and house openings.
  • Throw garbage away and remove rotten fruits from the ground.
  • Don’t leave food leftovers outside.

Frequently Asked Questions

When Is the Best Time to Remove Wasp Nest?

It’s best to remove the hive in spring or early summer before the wasps form a colony. It’s best to do it early in the morning or at dusk because then these insects are less active and aggressive. 

How to Get Rid of Wasps in Your House?

If a wasp wanders into the house, you should open windows or doors and use directed airflow to drive them away; a portable fan or hairdryer will work. Don’t swat them as a dying wasp releases poison that signals other wasps to come.

Bottom Line

For those wondering how to get rid of a wasp nest, several solutions are listed above at your disposal. 

Remember, however, to not kill these insects. Instead, drive them away by destroying their hive whenever you can. 

And if you can’t do it yourself, it’s always best to call the experts from Environmental Pest Management, who’ll help solve your wasp and other pest problems quickly and efficiently.

How to Get Rid of Grubs in Lawn Effectively

Lawn Grub
Lawn Grub

Are raccoons and skunks digging up your lawn for a tasty meal? Is your lawn becoming brown? 

We at Environmental Pest Management are experts in dealing with grubs in lawns. Learn how to identify a grub infestation and eliminate grubs in the lawn if you want to save your little haven from utter decay!

What Are Grubs in Lawn?

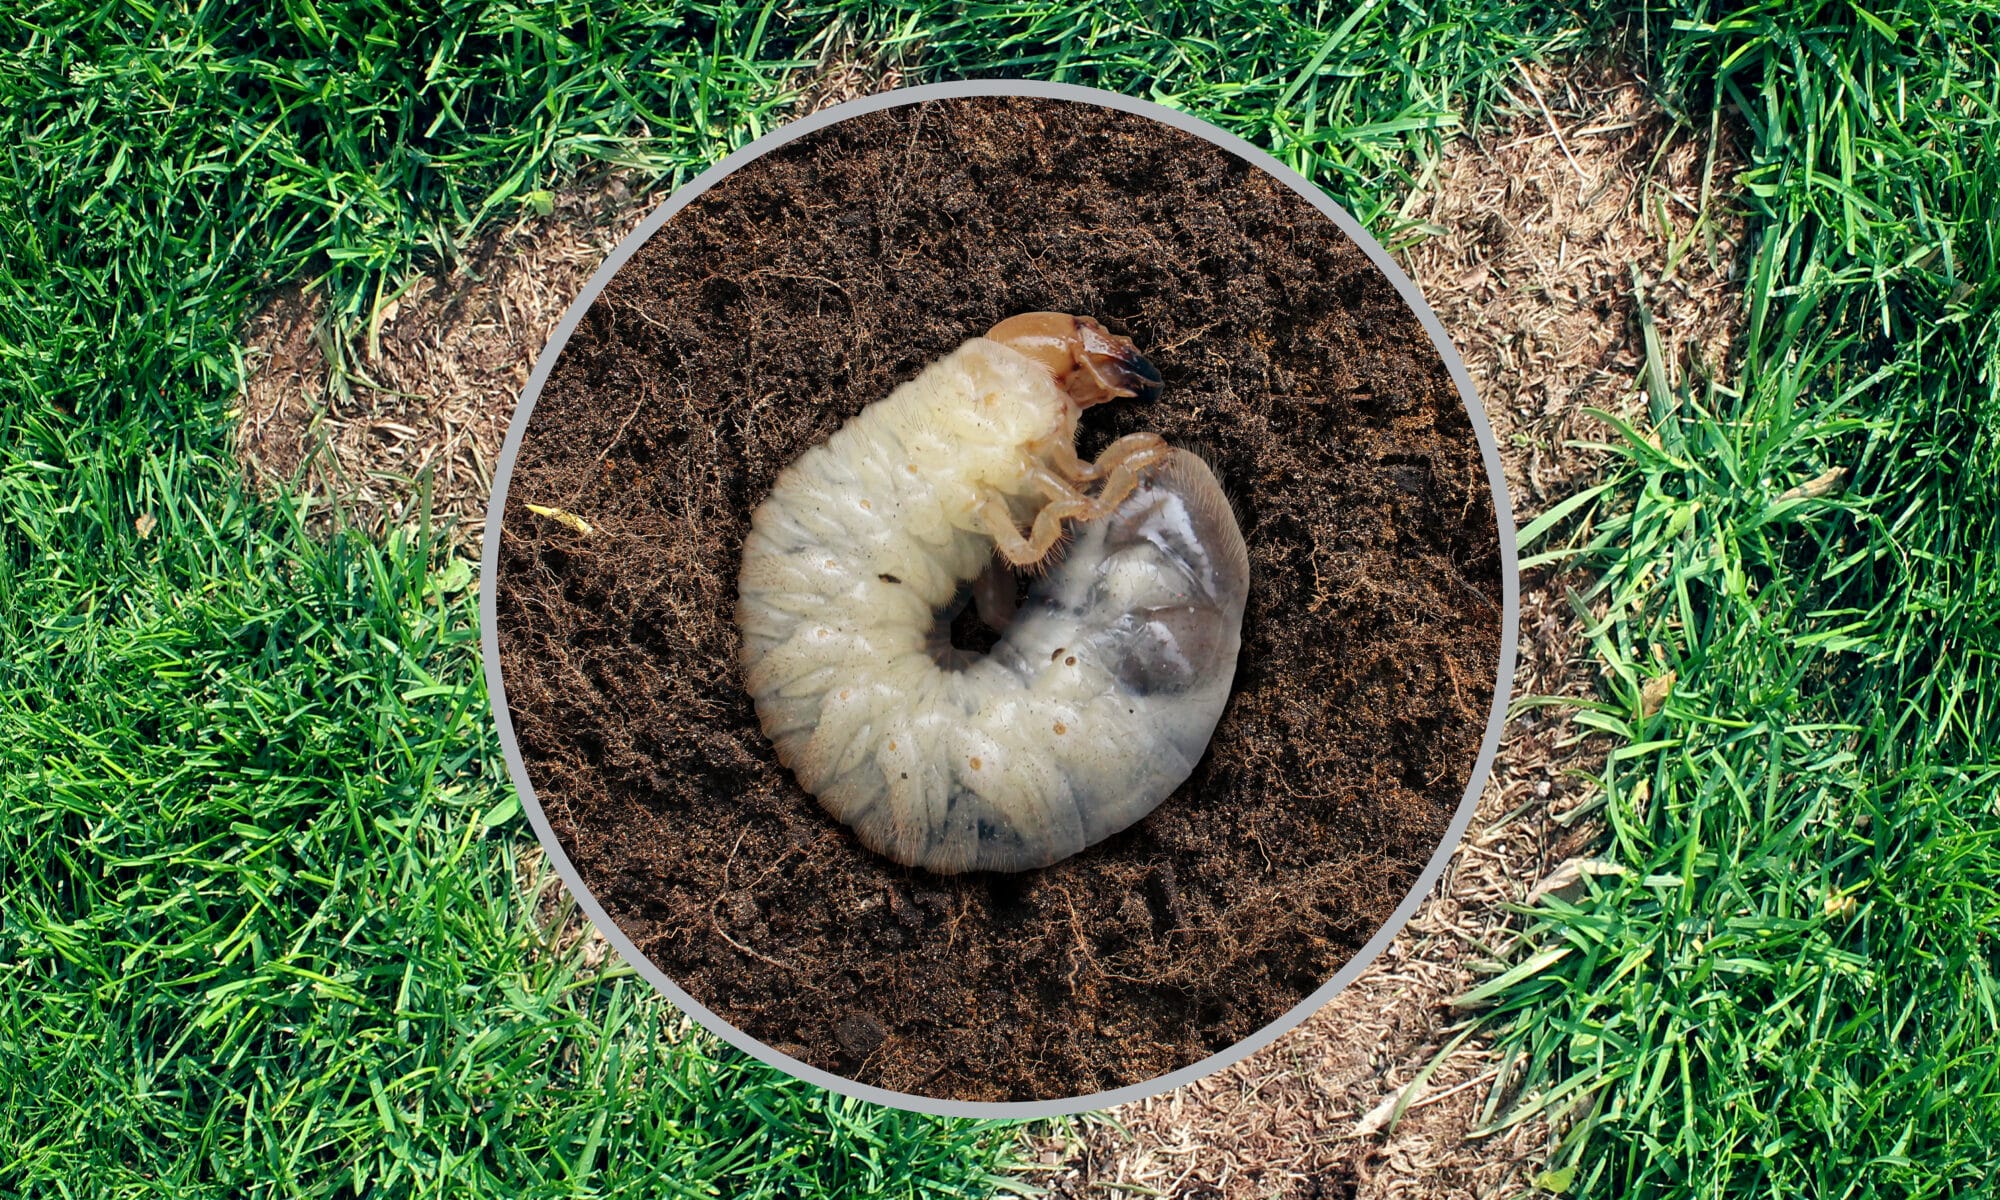
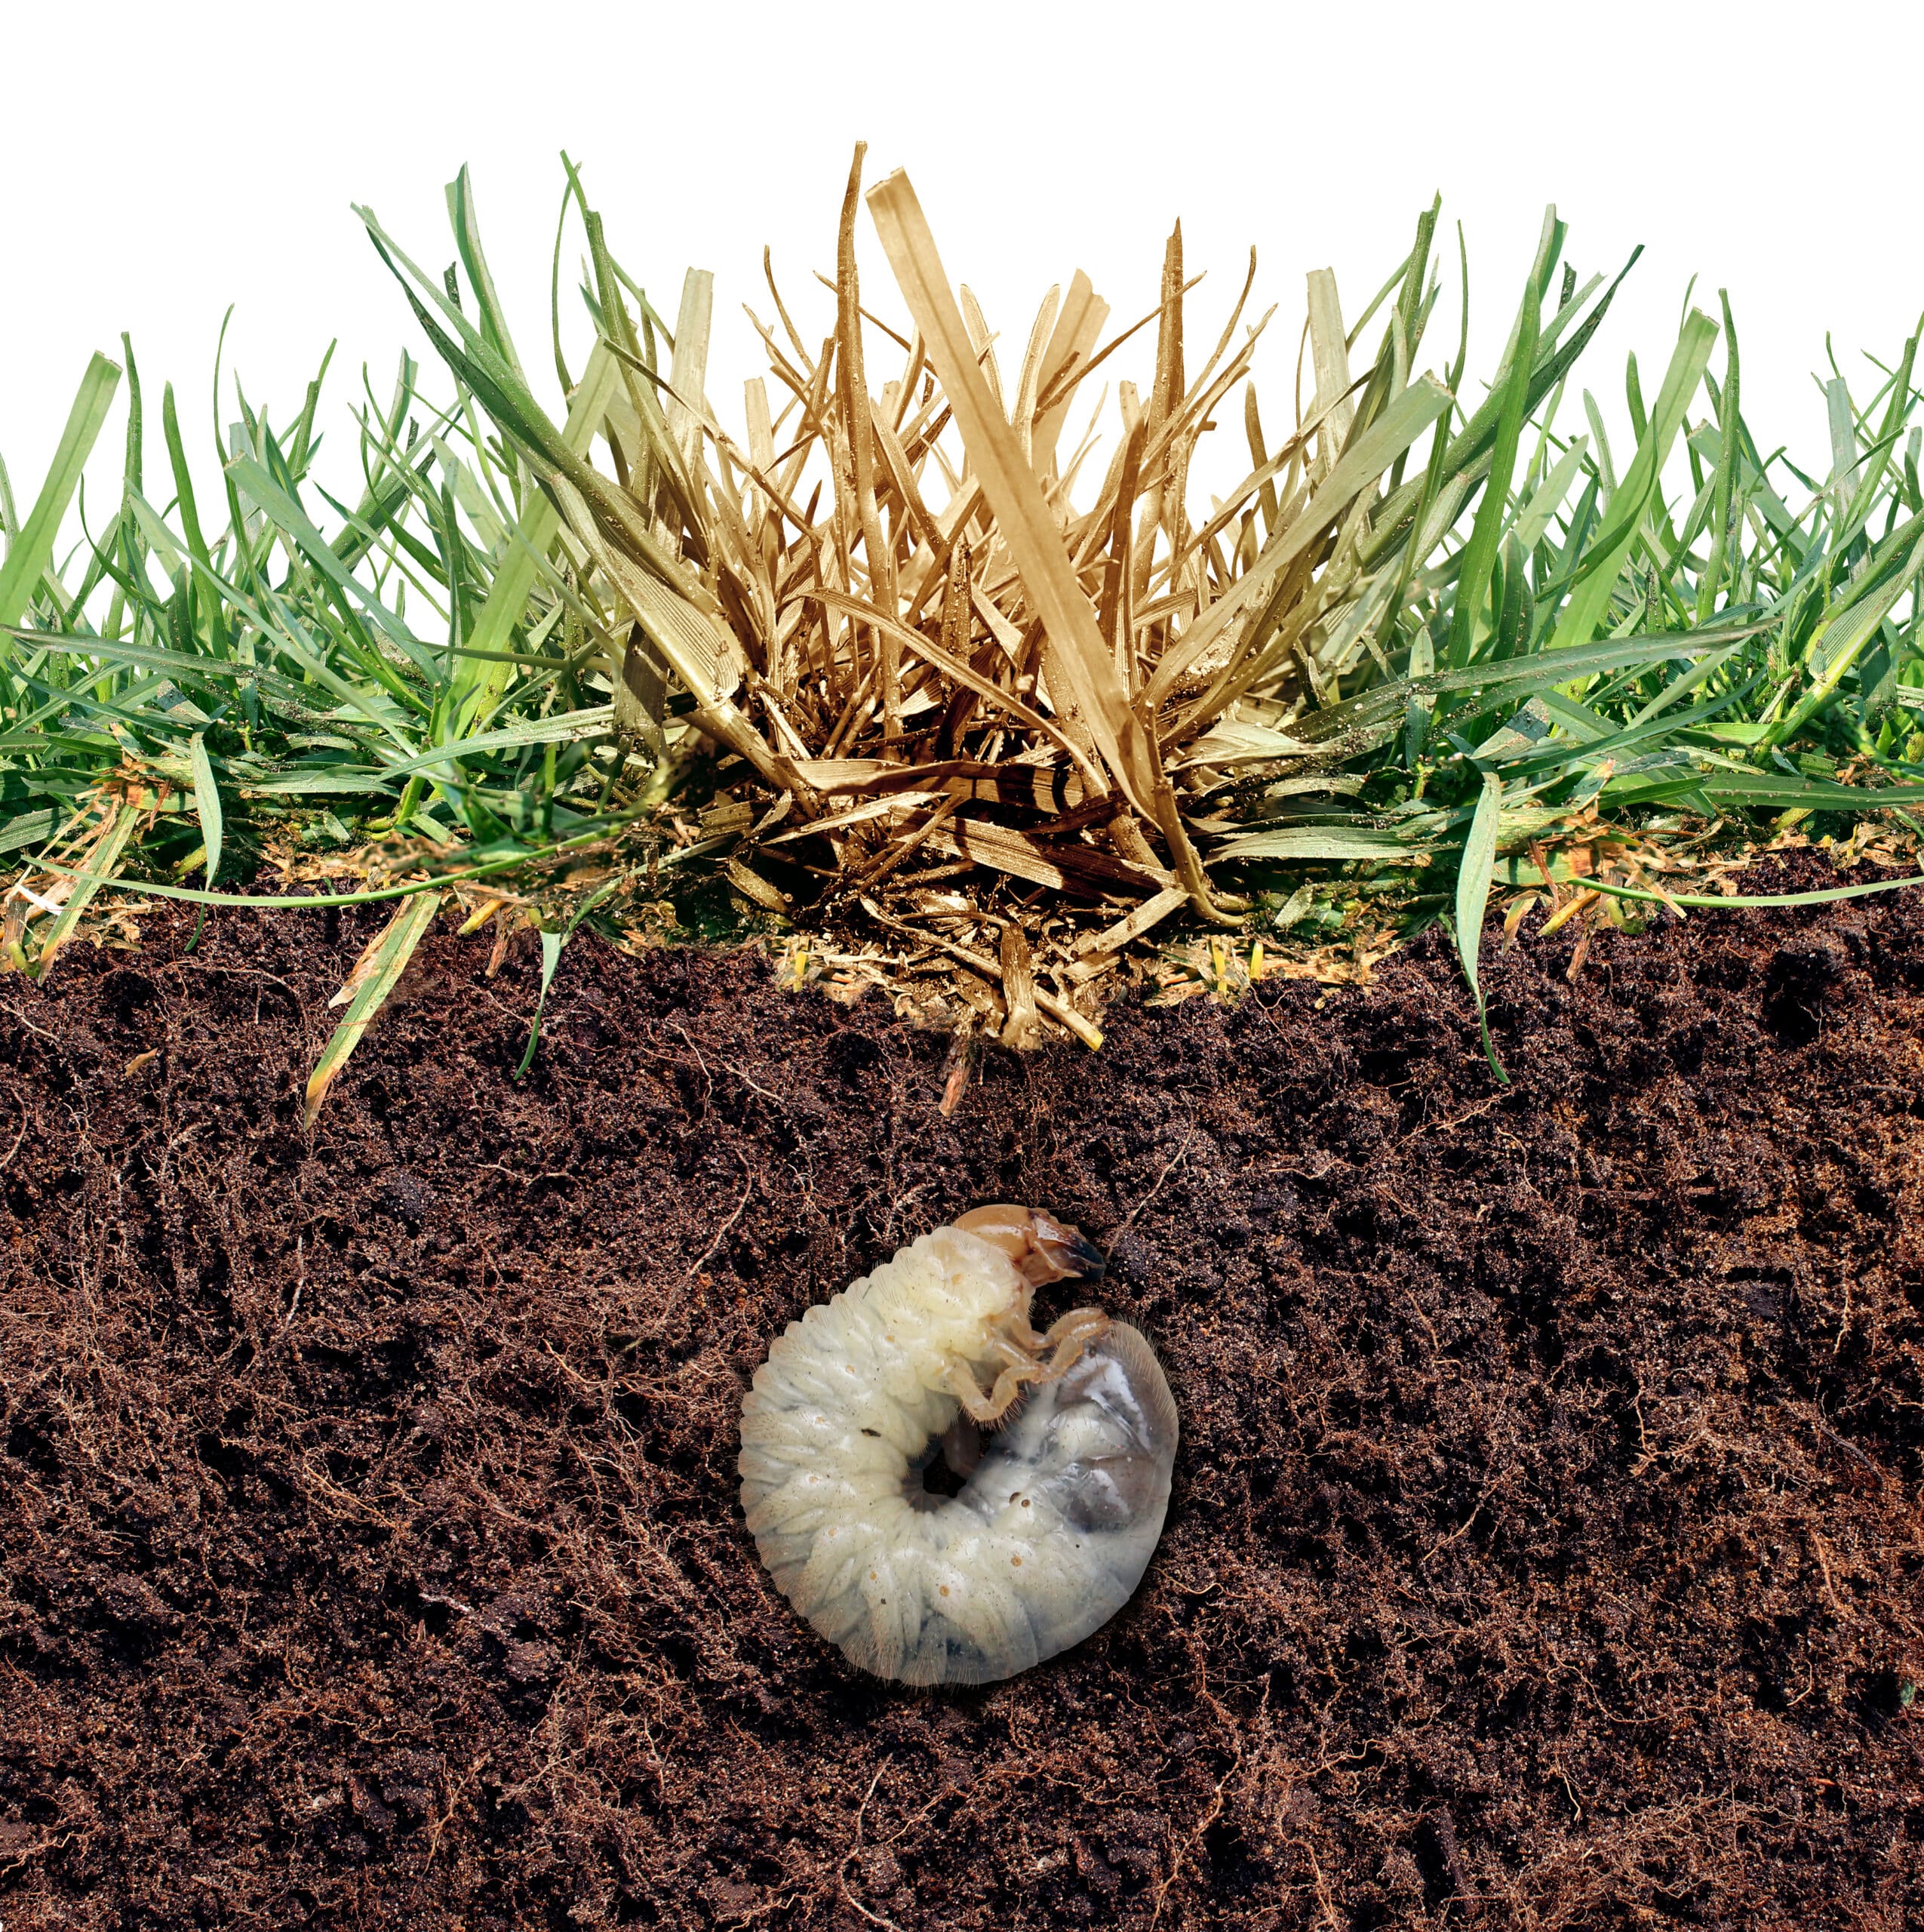
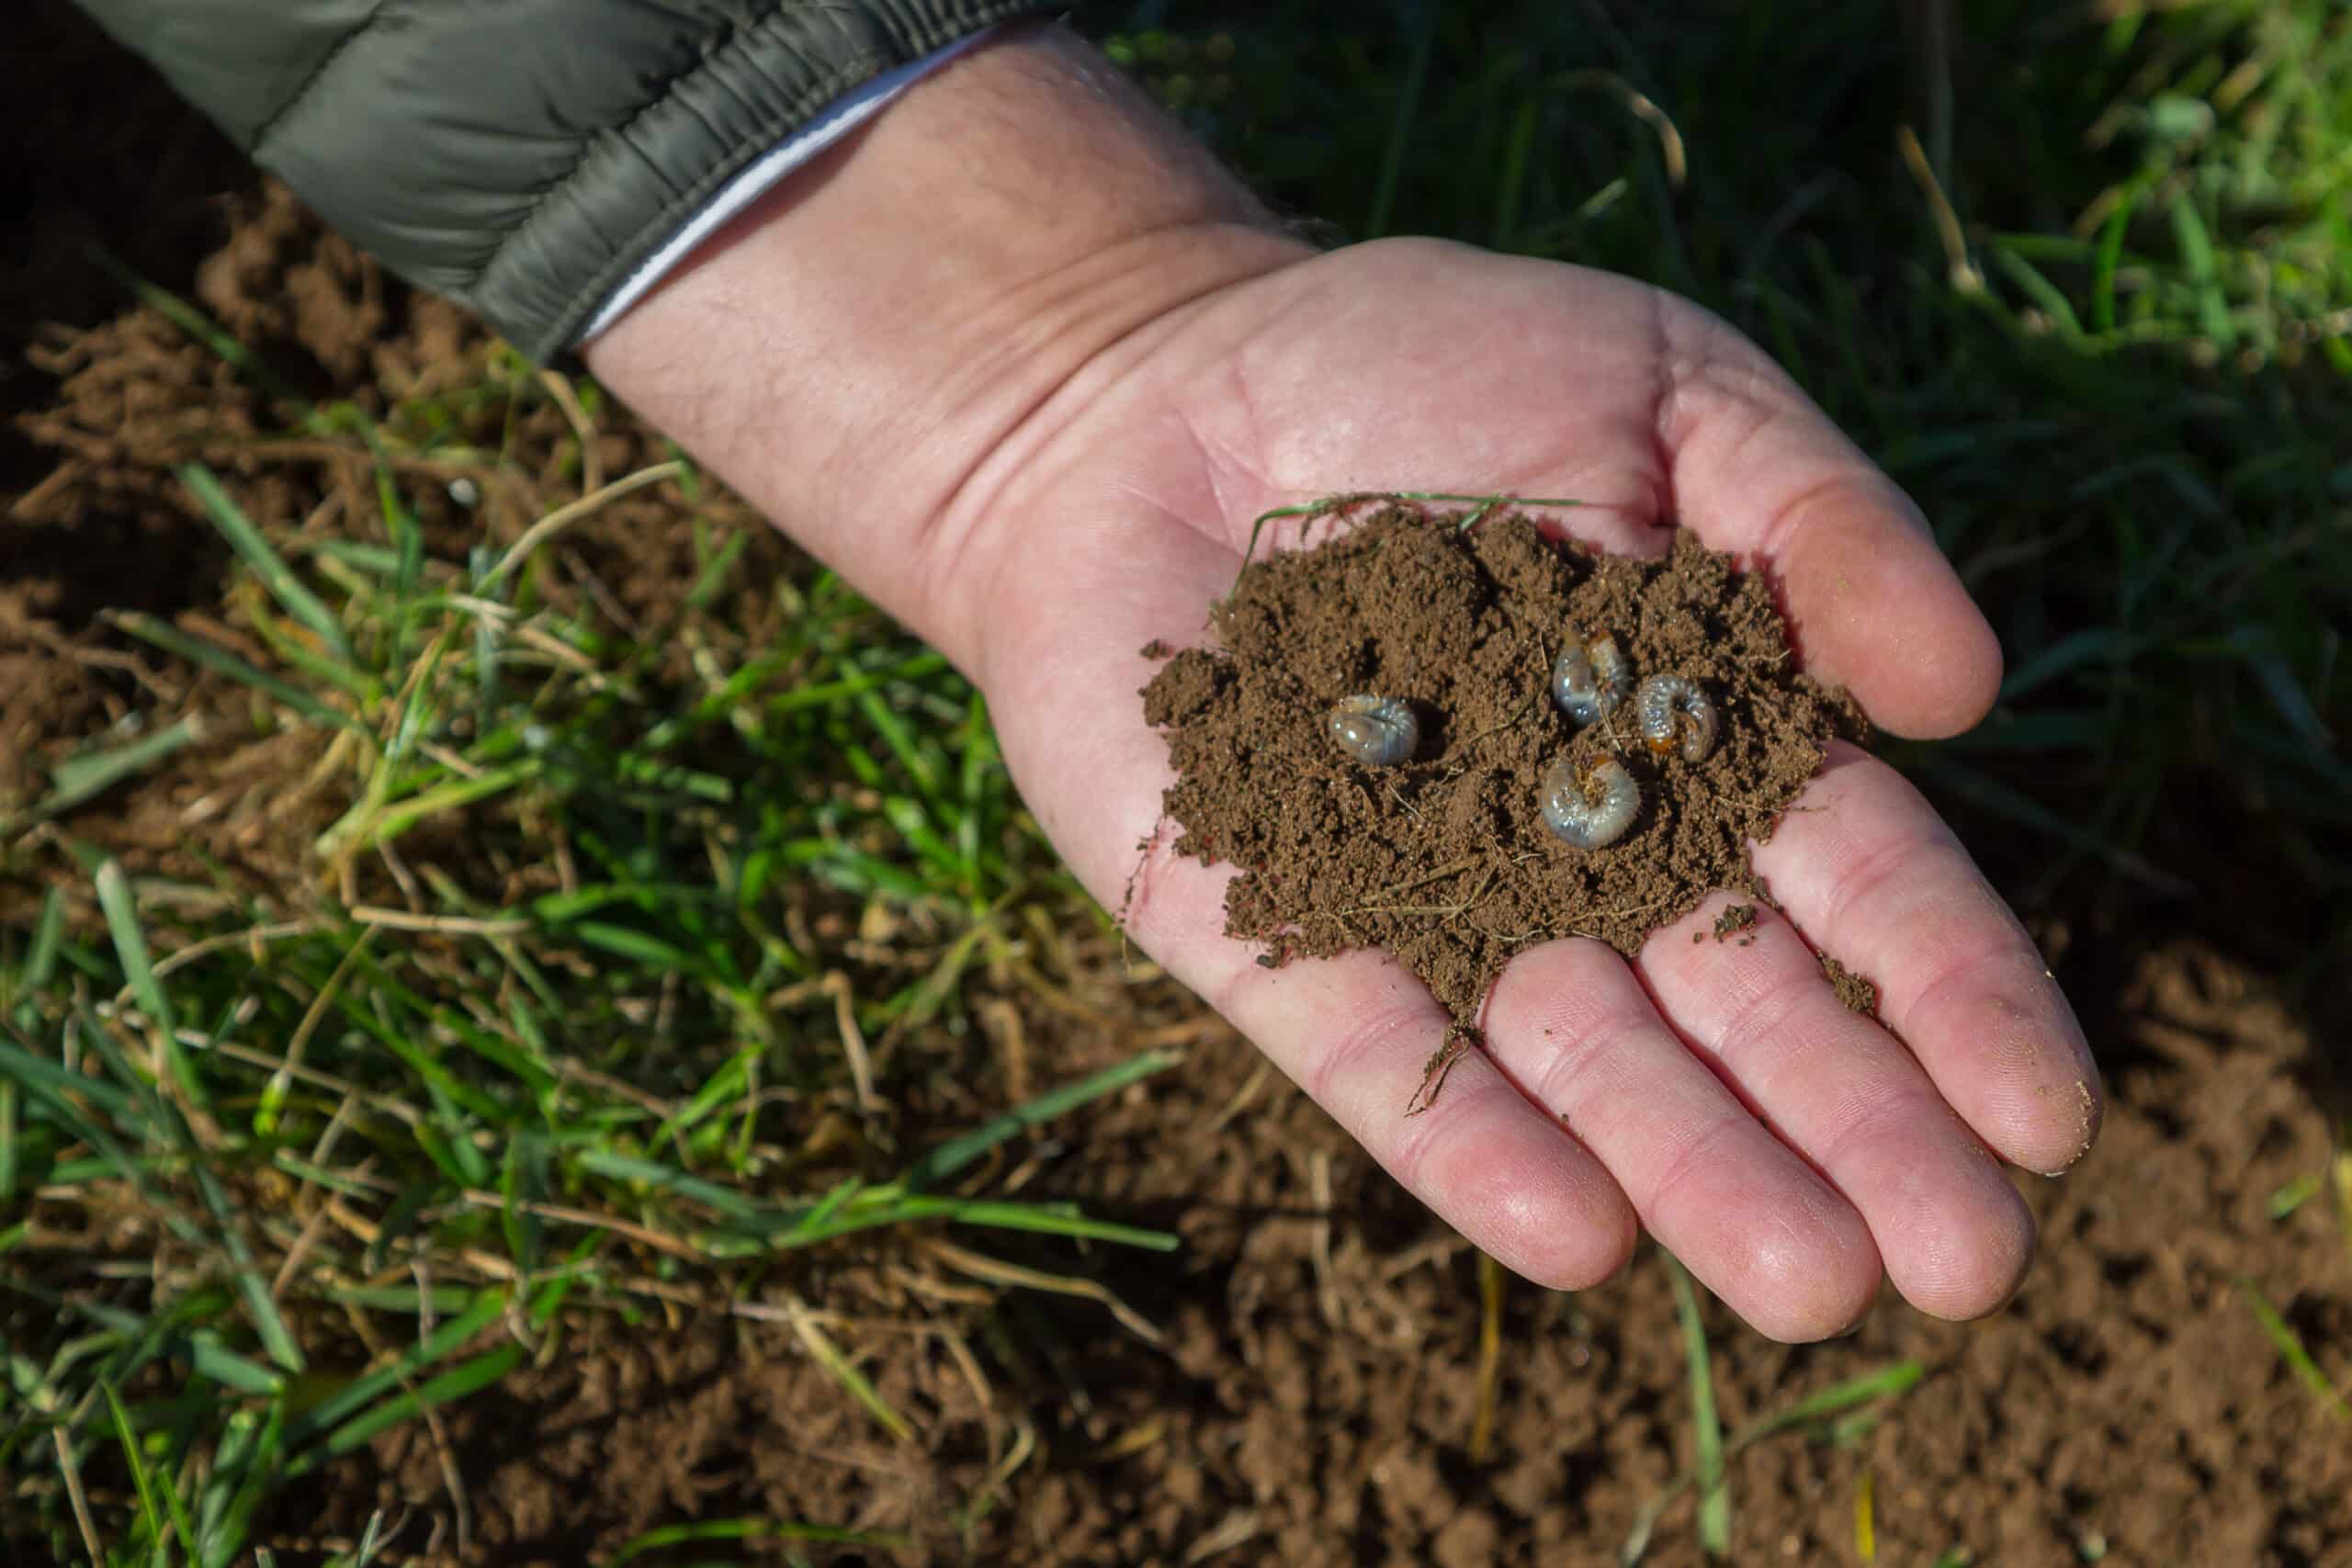
Known as lawn grubs or white grubs, grubs are pale white and squirmy larvae with brown heads. They’re about an inch long and curl into a C-shape when bothered. Larval is the immature form of various adult chafers and beetle species, including June bugs, European chafers, and Japanese beetles. You’ll find them emerging from underground in spring and early fall.

Lawn grubs are a natural part of the ecosystem, and healthy grass can support some grub feeding. But damage occurs when the population gets out of hand, as these pests feed on the roots of your grass, damaging your lawn.

Specifically, grubs feed on the thatch in lawns, an organic layer of dead and living shoots, roots, and stems. So they help manage lawn thatch, reduce its build-up, and, ironically, prevent pest problems.

The only issue is that they don’t stop at the thatch and feed on the turfgrass roots and crowns, killing your plants. Luckily, control methods will save your turf, so make sure you get the help of a pest control company like Environmental Pest Management. Professionals will inspect your lawn and consider your budget and safety when conducting their services in its infested areas.

How to Identify the Problem

Identifying the problem is the first step. It’s tricky because many pests cause the same lawn problems, so you should follow these two steps.

1. Look for the Signs

Grass grub damage

The signs of a grub infestation are:

  • Patches of Thinning Turf: Do dead patches keep appearing and growing on your turf weekly?
  • Yellowing Grass: This grass will eventually become a brown patch.
  • Grass Pulling Out Easily: It may be unusually easy for you to pull out plants from their roots. As a result, more skunks, moles, raccoons, and crows start packing and digging in the lawn for food, leaving holes behind.
  • Spongy Grass: The spongy texture of the grass makes for a soft underfoot and a bouncy step.
  • Beetles and Moths: Infested areas invite beetles and moths to lay their eggs, so they’ll start flying over the turf.
  • Grass Drought: You might notice signs of drought despite water availability.

2. Test Your Lawn

Now that you’ve seen the signs, you should confirm the existence of grub. Because they live underneath, you’ll have to do a little digging to see the pests. To conduct the following test:

  • Locate the browning or dead patches.
  • Use a shovel or lawn edger to dig up a hole, which should be one square foot large and two to three inches deep.
  • Sift around the soil, looking for grub, and count them.
  • Put back the grass you’ve cut out to avoid further damage.
  • Repeat the steps in other patches that you suspect for grub infestations, and make a note of which areas have more grubs than others.

When you conduct this test, you’ll almost always find grub. 

If they’re five or fewer, you have nothing to worry about. Five to ten grubs are only a concern if your lawn is unhealthy, as its ability to handle the grub feedings will be below normal. However, ten or more grubs is a sign of a serious infestation, and you must immediately implement pest control measures.

How to Treat Grubs on Lawn

Lawn Care - Grubs in lawn

Let’s go over how to chemically or naturally kill grubs in the lawn.

The Chemical Way

By far, the most effective control method is using chemical insecticides, which is necessary if you have a serious grub infestation. 

So what do pest control services include? Well, you can expect professional exterminators to eliminate the existing infestation and prevent it from resurfacing, which is why they might use two types of insecticides.

Firstly, curative pesticides are short-lived chemicals (carbonyl and trichlorfon) that eliminate existing grubs immediately. They eliminate the active pests in your lawn but don’t affect future grubs. Curative pesticides are especially effective during August and September, as the grubs leave their eggs and are fragile. Otherwise, spring grips are more developed, putting up more resistance to the pesticide.

As for specific types of grubs, carbonyl is slightly more effective on European chafer grubs than trichlorfon. The two curative insecticides are great for getting rid of Japanese beetle grubs.

Secondly, experts use preventative insecticides to prevent future generations of grubs from infesting your lawn the next fall or spring, preferably ones containing thiamethoxam, imidacloprid, and clothianidin.

If they’re neonicotinoids, the grass absorbs the pesticides, killing grubs when they’re old enough to feed on the roots of the treated plants. Accordingly, they aren’t effective on grubs in lawns from mid-October to May.

When you find a grub infestation, you should use preventative insecticides for a year or two to prevent a reinfestation before stopping. However, don’t use these chemicals merely because the general area is known to have Japanese beetles or European chafers.

Remember that it’s better to let experts handle this because each preventative chemical has a slightly different application time, enabling it to target grubs when active. Not to mention, some products on the market are ineffective altogether, such as ones that contain only bifenthrin, gamma-cyhalothrin, lambda-cyhalothrin, cyfluthrin, deltamethrin, and permethrin.

The Natural Way

If you’re wondering how to get rid of grubs in the lawn naturally, we’ll cover some natural or organic treatments for these pests.

The first method is milky spores. These bacteria kill Japanese beetle grubs if the spring soil is warm enough. It’s safe for use; sprinkle the powder onto your turf to control the infestation.

The drawback is that it can be three years before you completely eliminate the grub population. Another complication that comes with using milky spores is that it works only on a specific species, so you must confirm that the grubs in your lawn are Japanese beetles via hand lens.

The second organic treatment for grubs uses beneficial nematodes. They’re microscopic parasitic worms that feed on and release enough bacteria to kill grubs off.

In terms of usage, you can apply nematodes in the afternoon. Start by watering the soil because these living organisms love moisture. Then, use the substance before watering again. 

Note that nematode products should be used instantly after you purchase them. If not, the worms die and are unable to do the job.

Like milky spores, nematodes can get rid of grubs completely in up to three years. What makes them a long-term solution is that they reproduce, and their population feeds on grubs, among other pests, for several years.

How Dangerous Are Grubs?

If you’re tempted to let your grub infestation problem sort itself out, think again. Grubs live deep in the soil during winter and emerge in a few months, wreaking havoc on your plants and grass.

Aside from your lawn looking sad, the turf will get thinner, and the dead patches will increase gradually. It’ll become easy to pull out the damaged grass at its roots, and animals will start digging in for food. Moles will be attracted to your yard, especially if it has beetle grubs. These feedings are detrimental to the health of your grass and plants.

Final Words

Grubs are pale white larvae that live underneath the soil and feed on the grass thatch, roots, and crowns. They make your grass thin, yellow, and spongy, eventually killing it. You can take either the natural or chemical route to kill grubs in the lawn.

The natural one involves milky spores or nematodes, but it’ll be years before these treatments take full effect. As for the chemical route, pest management professionals use curative pesticides to kill active grubs and preventative pesticides to protect your grass against future grub infestations.

You have a serious infestation if you find ten or more grubs when digging a square foot hole in your lawn. So contact a pest control company like Environmental Pest Management. We, the experts, use safe control methods with little to no odor and only the best products to save your precious turf and lively plants.